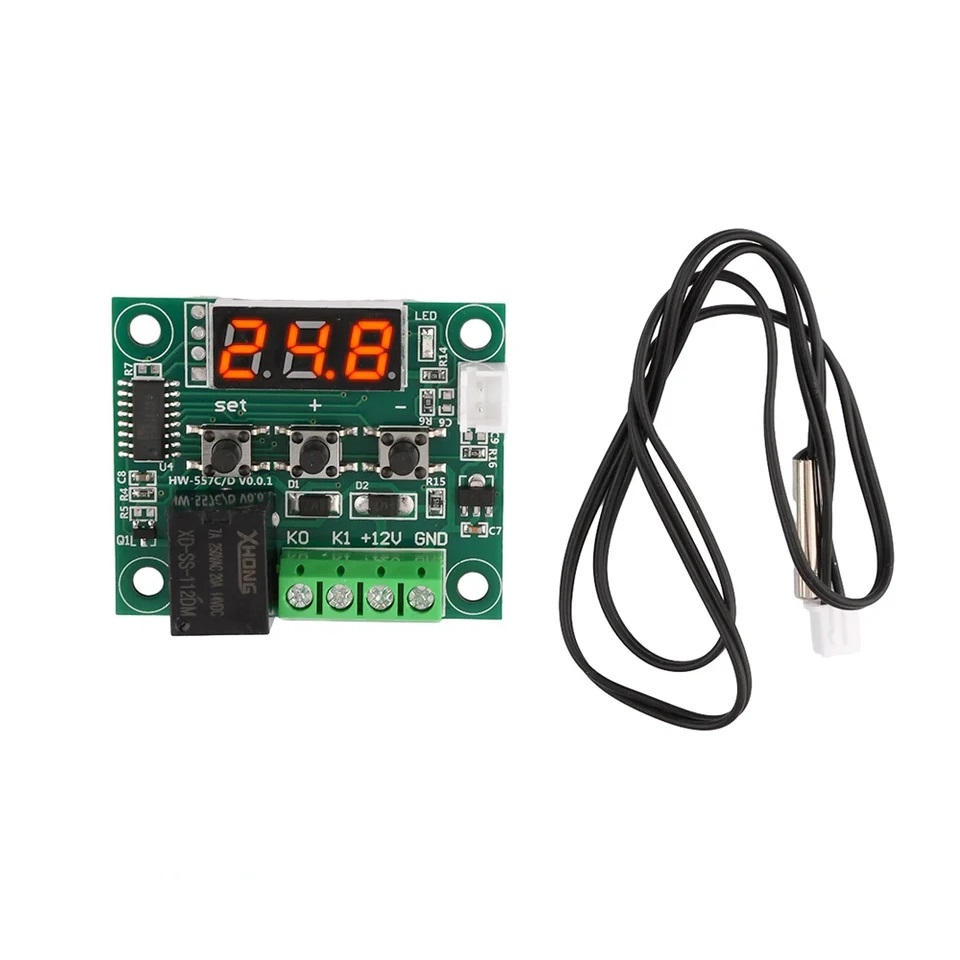
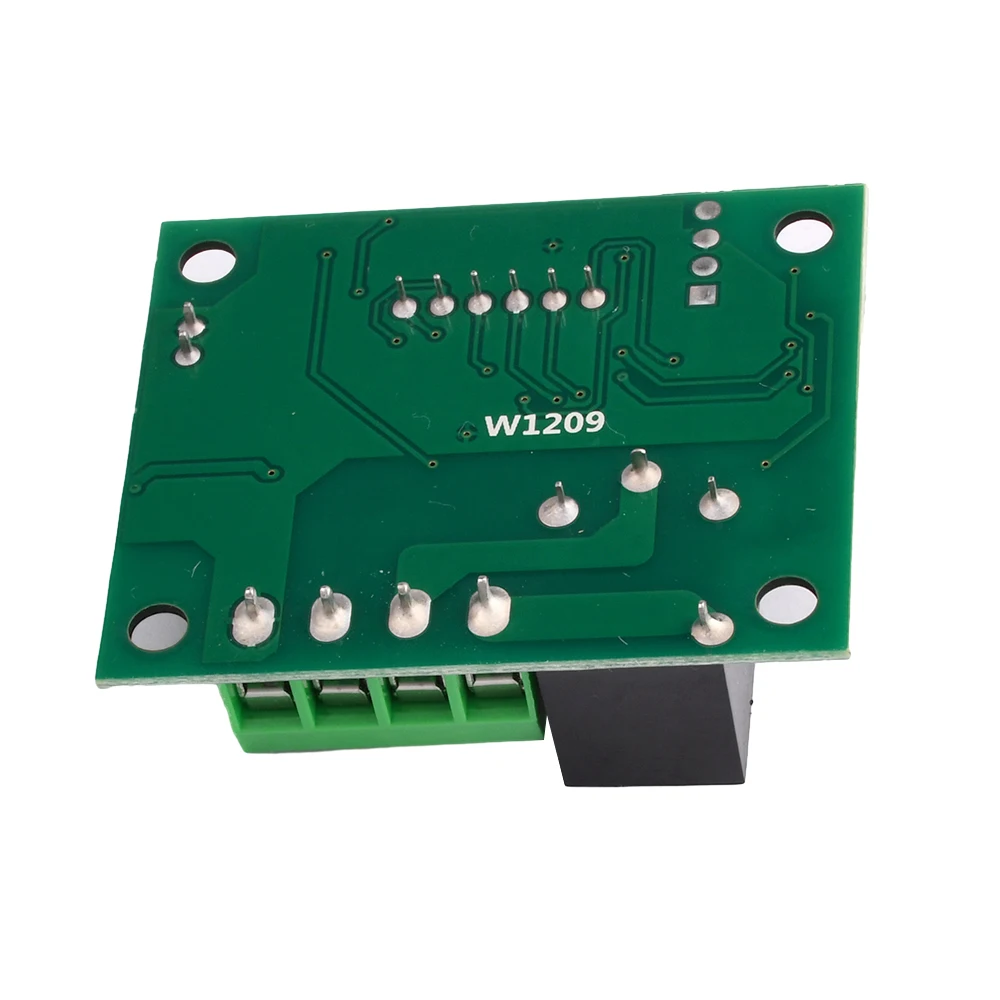
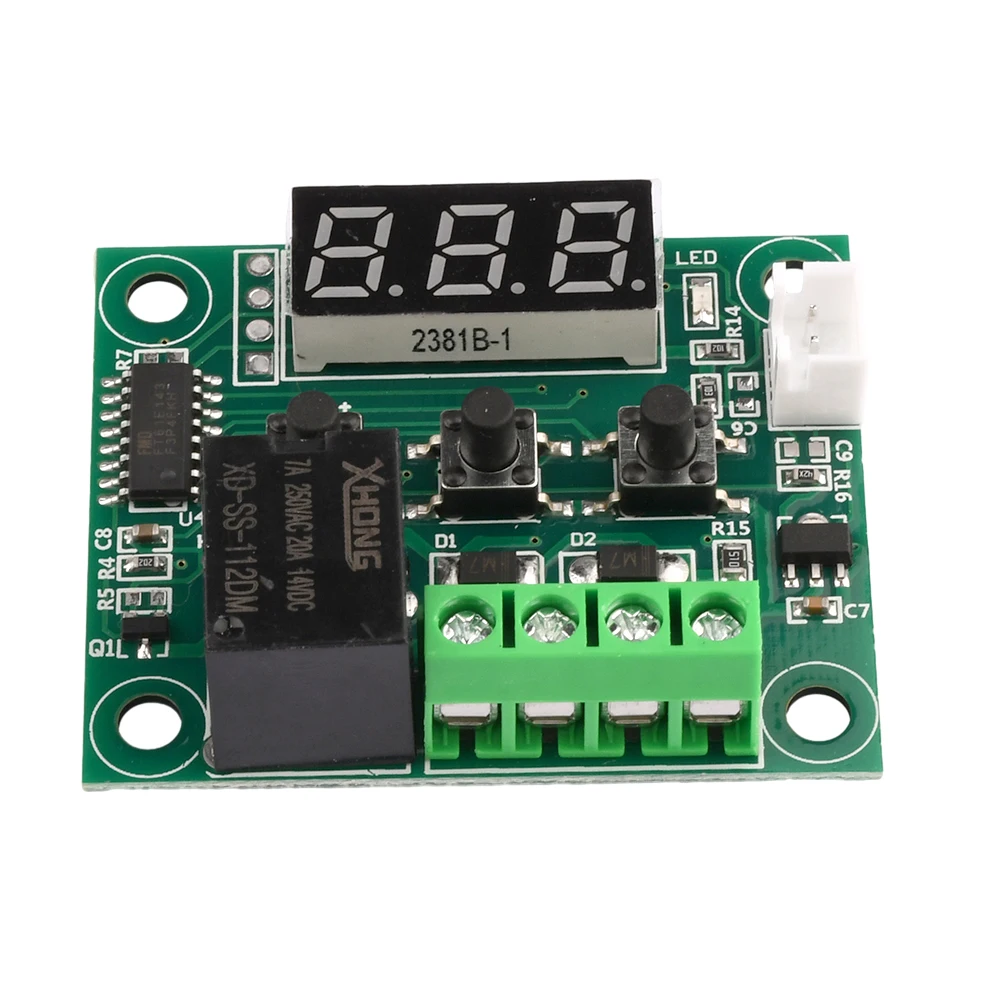
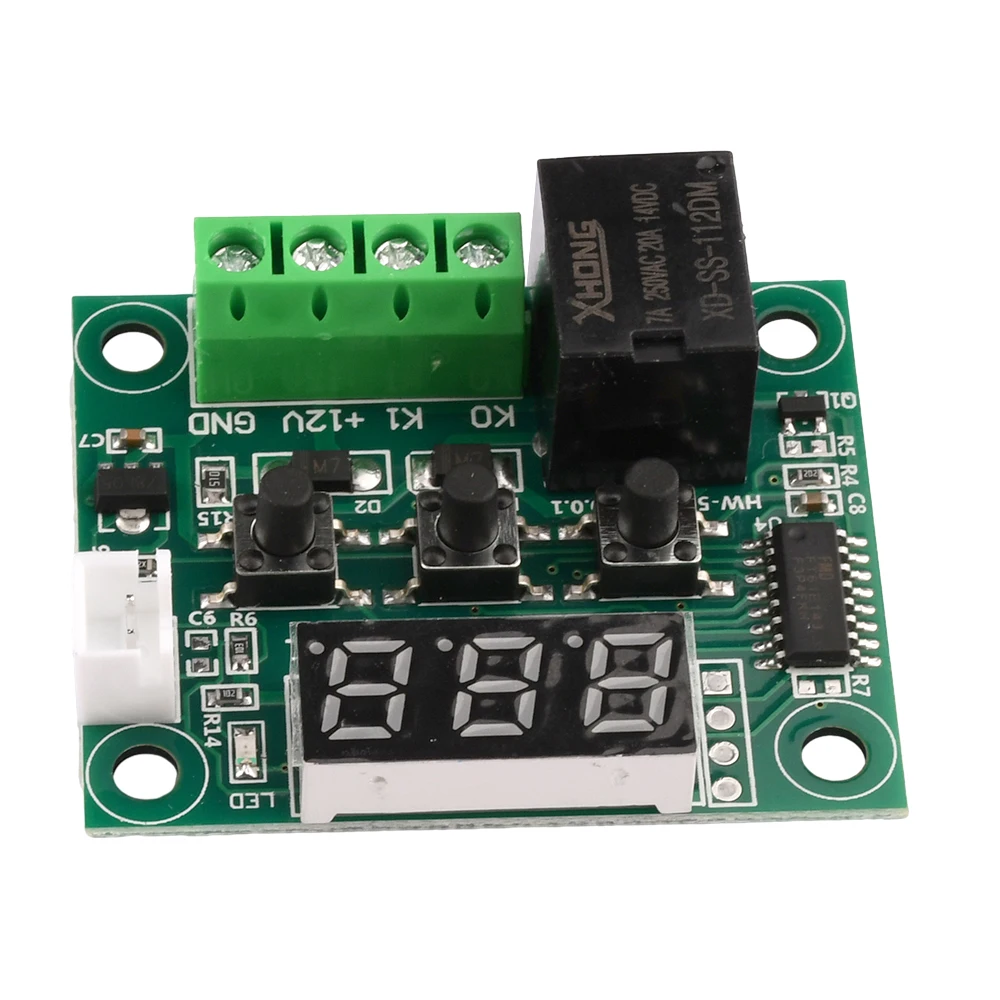
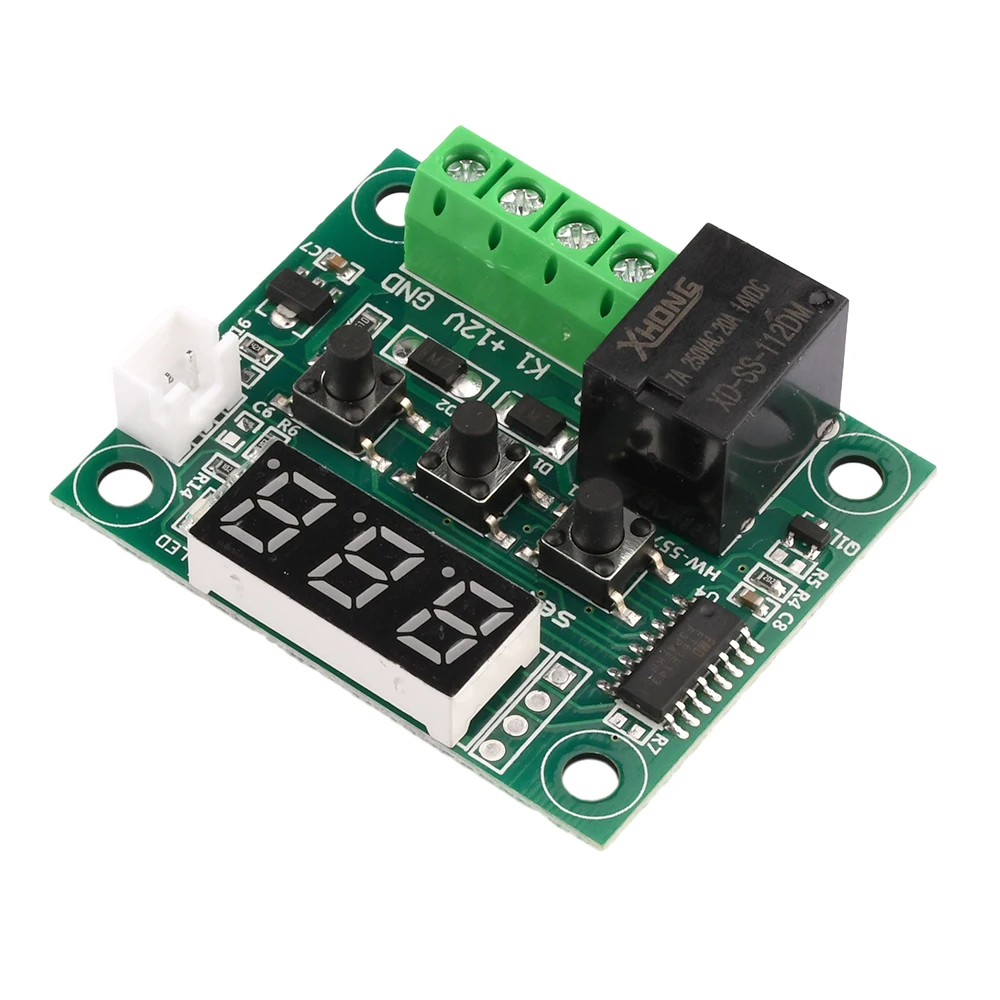
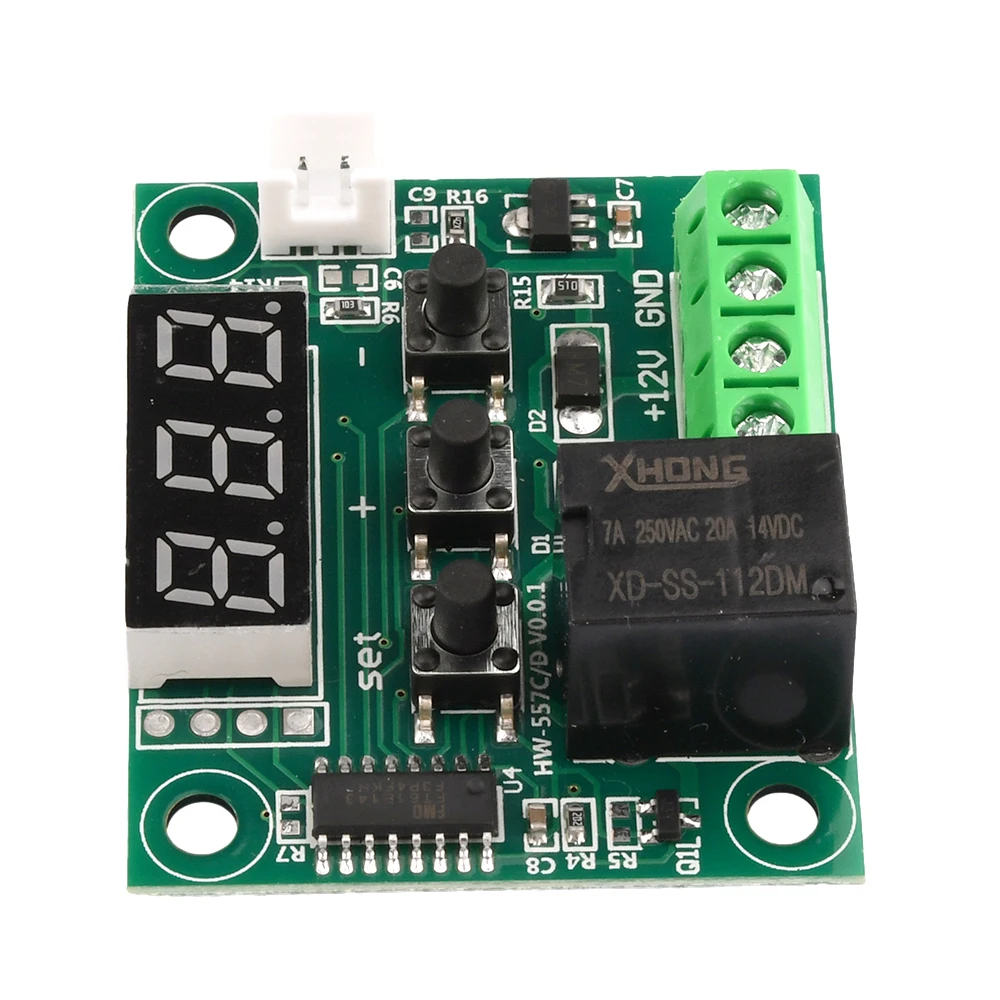
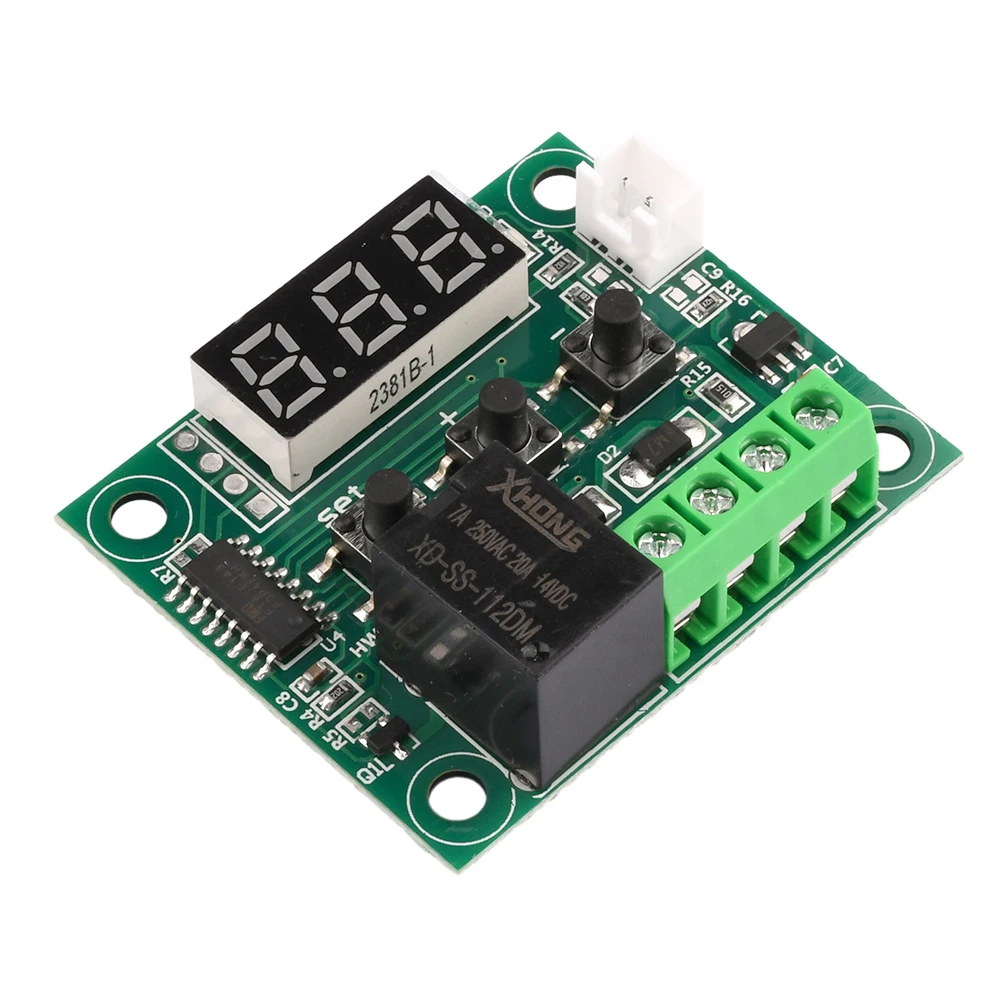
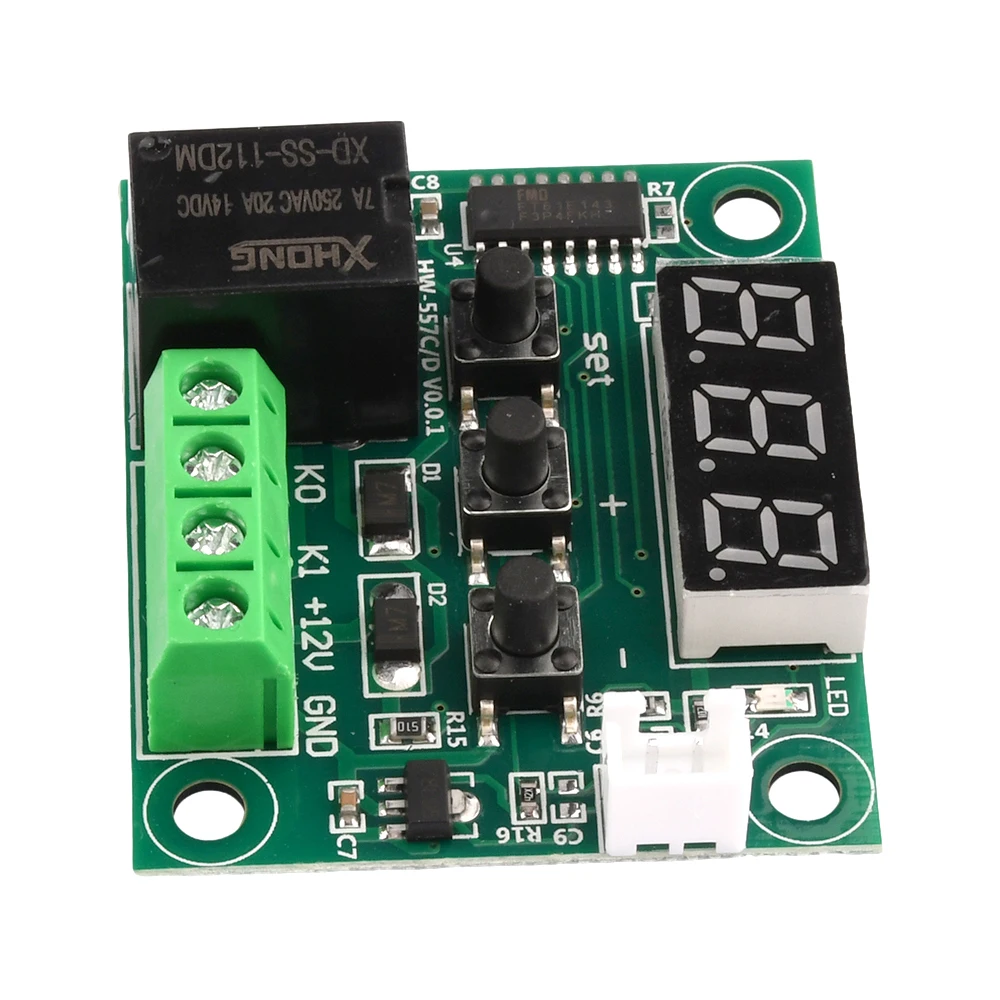
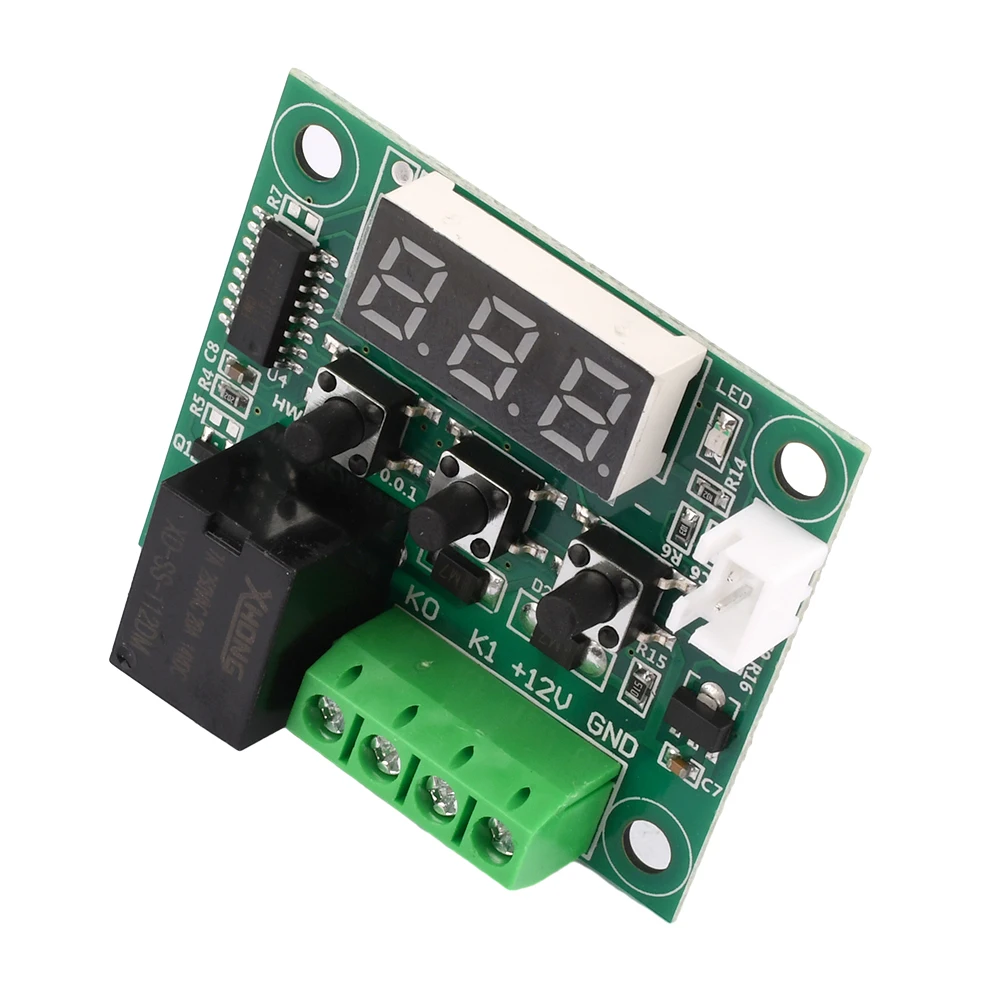
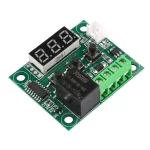
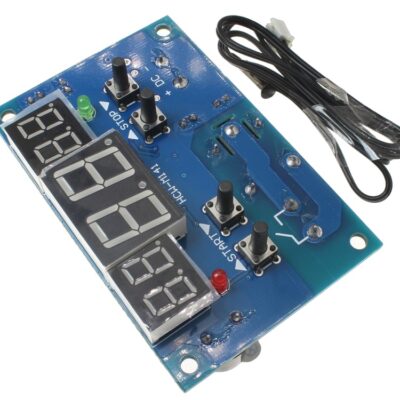
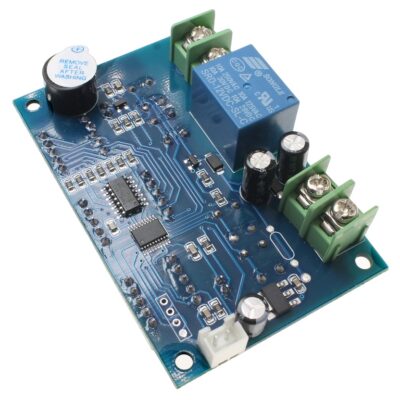
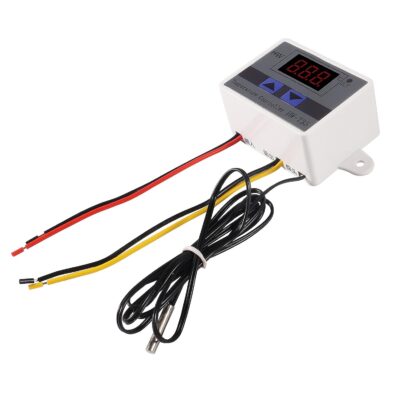
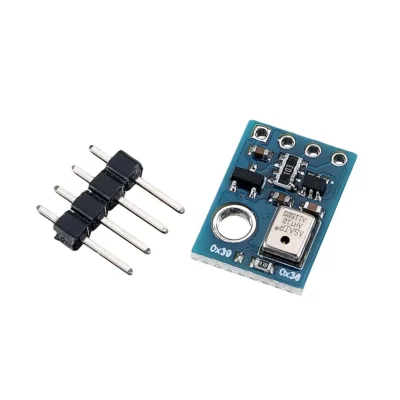
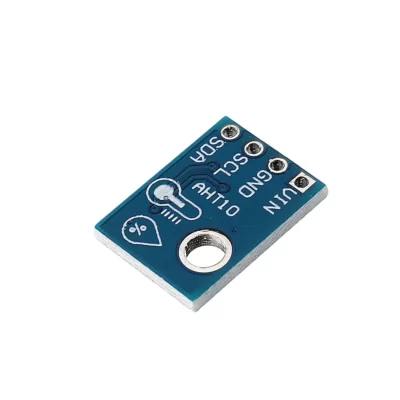
ماژول کنترلر دمای XH-W1209 به همراه نمایشگر دیجیتال
۷۷,۰۰۰ تومان
موجود در انبار
XH-W1209
This thermostat module can be used to switch a consumer at a desired definable temperature.
The module can be programmed via the LED display with different option codes.
• Temperature range: -50 … +110 °C
• Resolution: 0.1°C (-9.9 … 99.9 °C), 1 °C (other ranges)
• Measuring accuracy: 0.1°C
• Update rate: 0.5 s
• Operating voltage: 12 V DC
• Current consumption static: 35 mA
• Current consumption when relay is energized: 65 mA
• Measuring probe: NTC (10K 0.5 %) water-protected
• Output: 1 channel relay / 10 A
• Operating temperature: -10 … +60 °C / Humidity: 20 … 85%
• Cable length measuring probe: approx. 50 cm
• 4 holes for screw mounting (M3.0) or for installation in an optional housing
• PCB dimensions: 48 x 40 mm
How does it work?
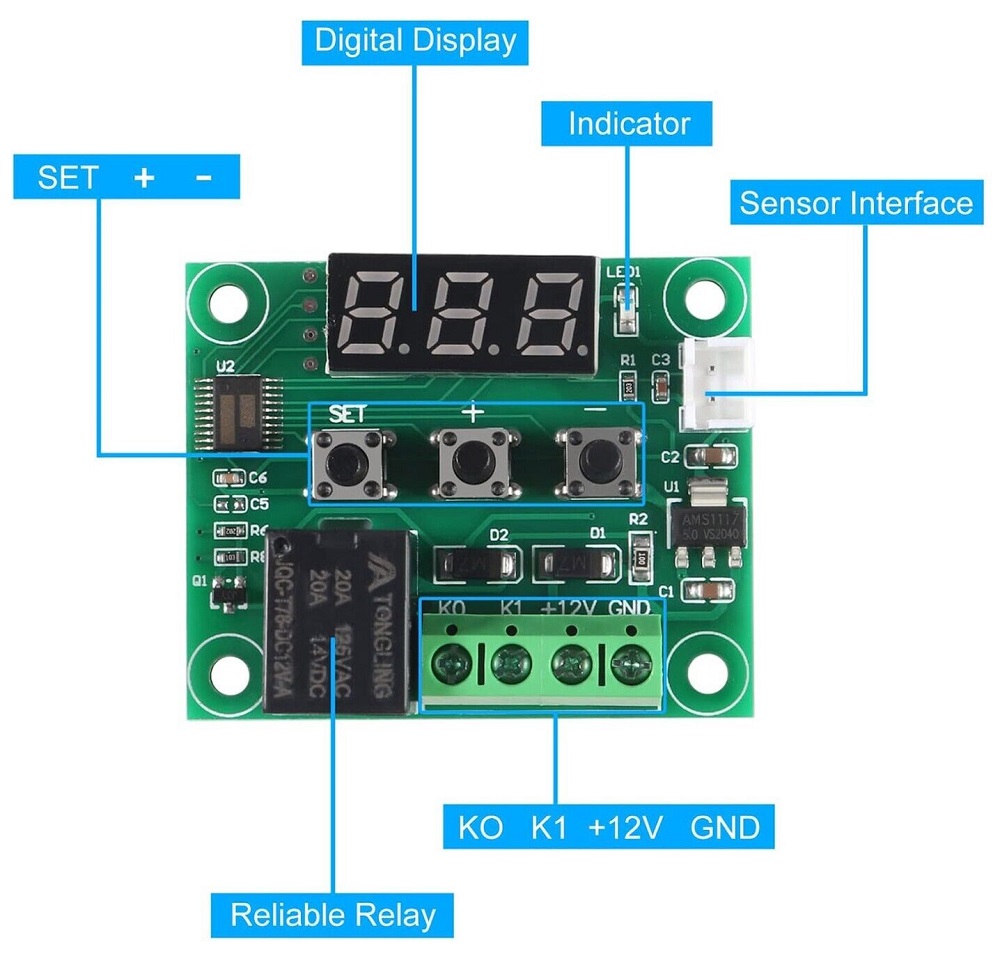
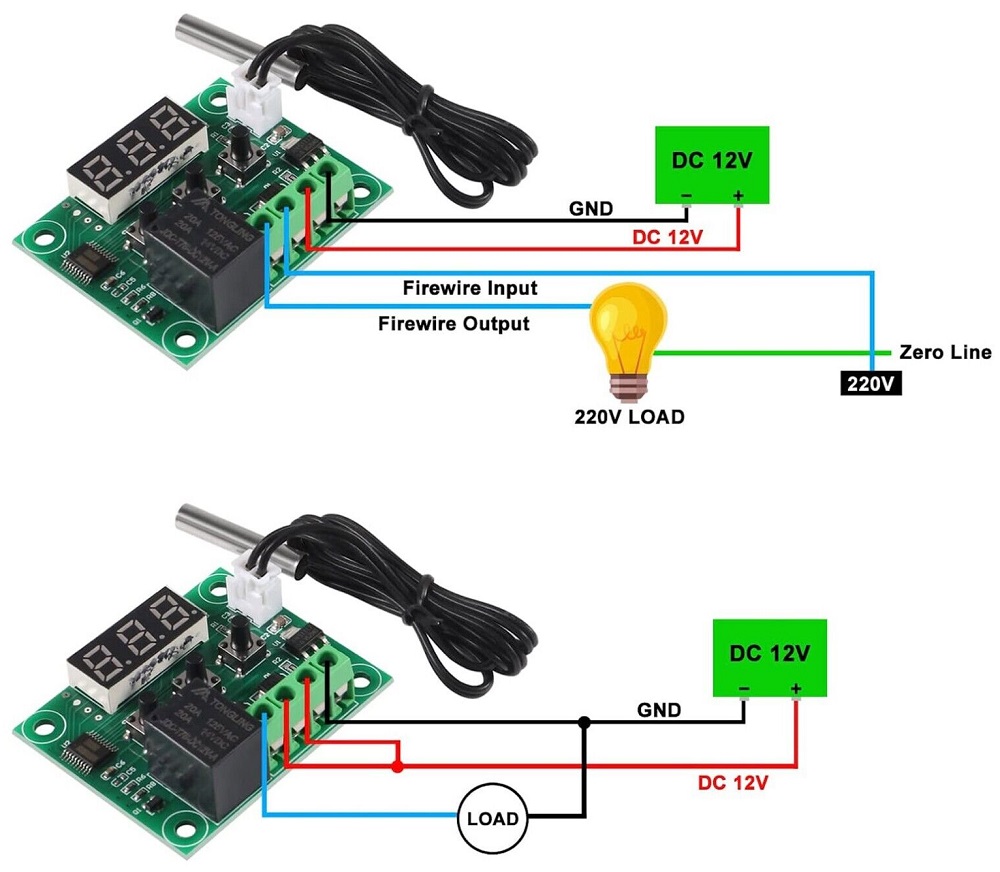
The w1209 module has an SMD LED that indicates the status of the relay, when it is on it means that there is continuity in terminals K0 and K1 of the control terminal block “closes the circuit”.
W1209 module functions and settings
The W1209 module has three control buttons: SET, ‘+’ plus and ‘-‘ minus. If you press the SET button for 2 to 5 seconds, it will enter the menu with seven options for setting the thermostat (P0, P1, P2, P3, P4, P5 and P6).
P0 – Heating or Cooling
If you set the temperature controller to cooling (C), the relay will activate when the temperature rises to the set point (turn on a refrigerator), but if you set it to heating mode (H), the relay will activate when the temperature drops to set point (turns on a heater).
P1 – Hysteresis
In this warm mode , when the temperature drops below the lower limit, the relay is activated. The temperature rises to the upper limit and the relay turns off. The temperature drops again until it reaches the lower limit when the relay is activated again. In cold mode it works the other way around, the relay activates when the temperature exceeds the upper limit and turns off when it reaches the lower limit.
P2 – Highest Temperature Limit
You can set a maximum temperature limit, less than 110 degrees. This parameter limits the maximum activation temperature that can be configured. It can be used as a safety to prevent the user from accidentally setting an excessively high trigger temperature.
P3 – Lower Temperature Limit
You can set the minimum temperature limit more than -50 degrees. This parameter limits the minimum activation temperature that can be configured. It can be used as a safety to prevent the user from accidentally setting an excessively low trigger temperature.
P4 – Correct Temperature or Calibration
Calibration allows you to adjust the temperature in 0.1 increments.
P5 – Delay Start Time
This parameter allows delaying the switching of the relay when the trigger temperature has been reached. The parameter can be set in one minute increments up to a maximum of 10 minutes.
P6 – High Temperature Alarm
Sets a temperature value that will cause the relay to turn off when the temperature reaches this setting. The 7-segment display will show ‘—’ to indicate an alarm condition. The relay does not energize until the temperature drops below this value. The default setting is OFF.
