- پروگرامرها
- دما و رطوبت
- سایر ماژول ها
- سنسور بخار سرد
- کی پد و جوی استیک
- ماژول GPS-GPRS
- ماژول رله و سوییچ
- ماژول شبکه
- ماژول نمایشگر
- ماژول های RF
- ماژول های RFID
- ماژول های پخش صدا
- ماژول های پردازش تصویر
- ماژول های تاریخ و ساعت
- ماژول های تغذیه – ولتاژ – جریان
- ماژول های ذخیره داده
- ماژول های شتاب سنج و ژیروسکوپ
- ماژول های مبدل
- ماژول های محافظ شارژ باتری
- ماژول های مولد پالس
- ماژول ولتمتر و آمپرمتر
ماژول مالتی پلکسر 16 کاناله CD74HC4067 آنالوگ / دیجیتال
18
نفر در حال مشاهده این محصول هستند!
دسته: سایر ماژول ها, ماژول ها
توضیحات
Description
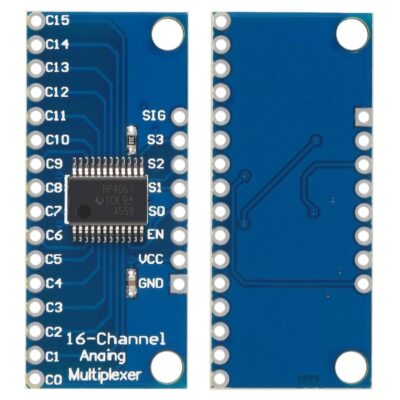
This is a breakout board for the very handy 16-Channel Analog/Digital Multiplexer/Demultiplexer CD74HC4067.
This chip is like a rotary switch – it internally routes the common pin (COM in the schematic, SIG on the board) to one of 16 channel pins (CHANxx).
It works with both digital and analog signals (the voltage can’t be higher than VCC), and the connections function in either direction.
To control it, connect 4 digital outputs to the chip’s address select pins (S0-S3), and send it the binary address of the channel you want.
This allows you to connect up to 16 sensors to your system using only 5 pins!
Since the mux/demux also works with digital signals, you can use it to pipe TTL-level serial data to or from multiple devices.
For example, you could use it to connect the TX pins of 16 devices to one RX pin on your microcontroller.
You can then select any one of those 16 devices to listen to.
If you want two-way communications, you can add a second board to route your microcontroller’s TX line to 16 device’s RX lines.
By using multiple boards, you can create similar arrangements for I2C, SPI, etc.
The internal switches are bidirectional, support voltages between ground and VCC, have low “on” resistance and low “off” leakage, and to prevent crosstalk, perform “break-before-make” switching.
The board also breaks out the chip’s “enable” pin, which when driven high, will completely disconnect the common pin (all switches “off”).
Feature
2V to 6V operation
“On” resistance : 70 Ohms @ 4.5V
6ns break-before-make @ 4.5V
By this multiplexer, 16 outputs can be controlled with 4 inputs, as follows:
24=16
One base is also considered as Enable base in this IC, which is actually Active LOW.
One of the prominent uses of this multiplexer is the possibility of measuring 16 ADC channels with only one channel.
Multiplexer applications are very wide and are used in various digital circuits.
Example
CD74HC4067 as output
In the first example we show the use of the CD74HC4067 to add outputs.
The following code progressively turns the 16 channels on and off.
To do this we change the address pins, and use an Arduino digital output to turn the signal pin on and off.
const int muxSIG = A0;
const int muxS0 = 8;
const int muxS1 = 9;
const int muxS2 = 10;
const int muxS3 = 11;

int SetMuxChannel(byte channel)
{
  digitalWrite(muxS0, bitRead(channel, 0));
  digitalWrite(muxS1, bitRead(channel, 1));
  digitalWrite(muxS2, bitRead(channel, 2));
  digitalWrite(muxS3, bitRead(channel, 3));
}

void setup()
{
  pinMode(muxSIG, OUTPUT);
  pinMode(muxS0, OUTPUT);
  pinMode(muxS1, OUTPUT);
  pinMode(muxS2, OUTPUT);
  pinMode(muxS3, OUTPUT);
}

void loop()
{
  for (byte i = 0; i < 16; i++)
  {
    SetMuxChannel(i);
    digitalWrite(muxSIG, HIGH);
    delay(200);
    digitalWrite(muxSIG, LOW);
    delay(200);
  }
}
CD74HC4067 as input
The following example shows reading values using the CD74HC4067.
The following code sequentially performs the analog reading of pin A0, and shows the reading through the serial port.
As in the previous code we change the address pins, but now we use the analog reading of the signal pin.
const int muxSIG = A0;
const int muxS0 = 8;
const int muxS1 = 9;
const int muxS2 = 10;
const int muxS3 = 11;

int SetMuxChannel(byte channel)
{
  digitalWrite(muxS0, bitRead(channel, 0));
  digitalWrite(muxS1, bitRead(channel, 1));
  digitalWrite(muxS2, bitRead(channel, 2));
  digitalWrite(muxS3, bitRead(channel, 3));
}

void setup()
{
  Serial.begin(9600);
  pinMode(muxS0, OUTPUT);
  pinMode(muxS1, OUTPUT);
  pinMode(muxS2, OUTPUT);
  pinMode(muxS3, OUTPUT);
}

void loop()
{
  for (byte i = 0; i < 16; i++)
  {
    SetMuxChannel(i);
    byte muxValue = analogRead(muxSIG);

    Serial.print(muxValue);
    Serial.print("\t");
  }
  Serial.println();
  delay(1000);
}
نظرات (0)
اولین نفری باشید که دیدگاهی را ارسال می کنید برای “ماژول مالتی پلکسر 16 کاناله CD74HC4067 آنالوگ / دیجیتال”
محصولات مشابه
ماژول کاهنده LM2596 حداکثر جریان خروجی 3 آمپر
۷۸,۰۰۰ تومان
ماژول آمپلی فایر 2X10W کلاس D با تراشه PAM8610
۱۱۵,۰۰۰ تومان
ماژول آمپلی فایر استریو 3 وات PAM8403 همراه با ولوم متغیر
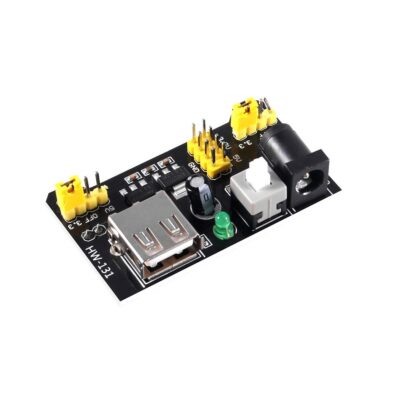
ماژول تغذیه برد بورد
تماس بگیرید
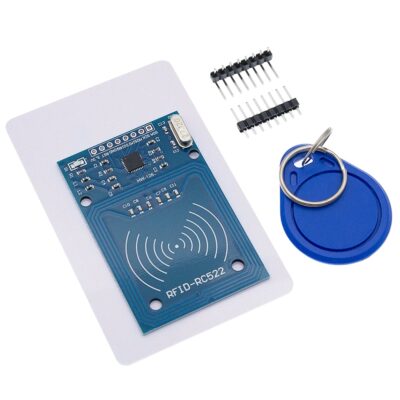
ماژول RFID با قابلیت خواندن و نوشتن فرکانس 13.56MHz
۱۵۱,۰۰۰ تومان
مبدل USB به سریال RS485
۱۱۵,۰۰۰ تومان




دیدگاهها
هیچ دیدگاهی برای این محصول نوشته نشده است.