- پروگرامرها
- دما و رطوبت
- سایر ماژول ها
- سنسور بخار سرد
- کی پد و جوی استیک
- ماژول GPS-GPRS
- ماژول رله و سوییچ
- ماژول شبکه
- ماژول نمایشگر
- ماژول های RF
- ماژول های RFID
- ماژول های پخش صدا
- ماژول های پردازش تصویر
- ماژول های تاریخ و ساعت
- ماژول های تغذیه – ولتاژ – جریان
- ماژول های ذخیره داده
- ماژول های شتاب سنج و ژیروسکوپ
- ماژول های مبدل
- ماژول های محافظ شارژ باتری
- ماژول های مولد پالس
- ماژول ولتمتر و آمپرمتر
ماژول آمپلی فایر 50 وات استریو 2 کانال XH-M189
۴۸۵,۰۰۰ تومان
ماژول میکروفون دیجیتال با چیپ LM393
۷۱,۰۰۰ تومان
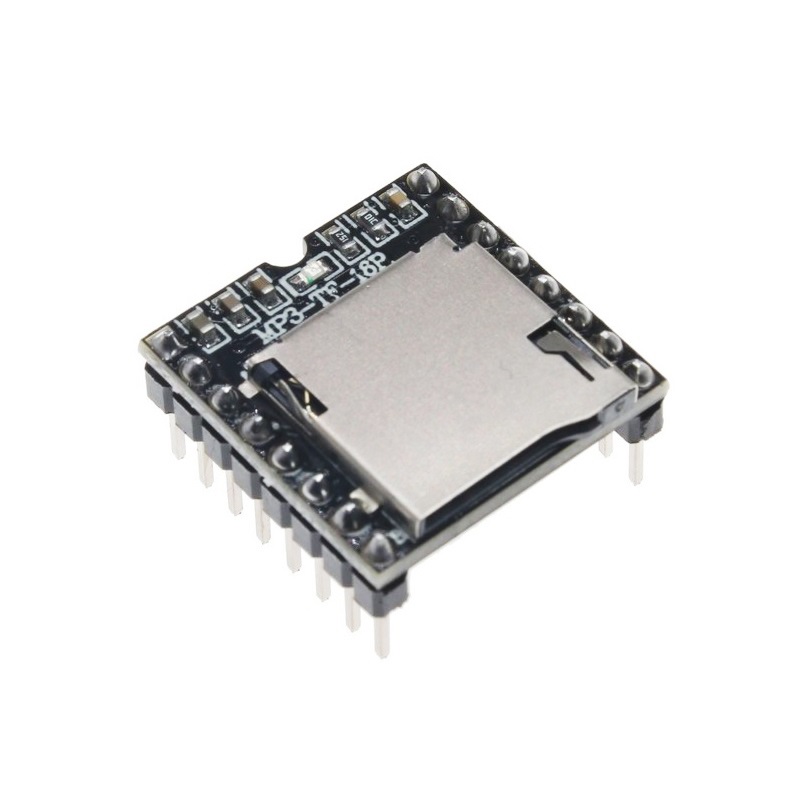
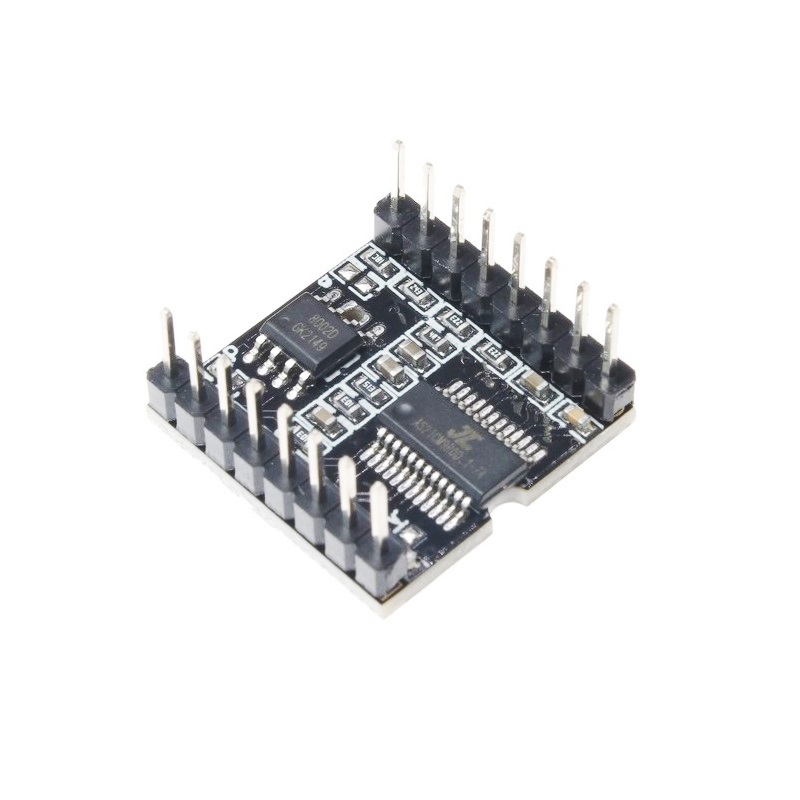
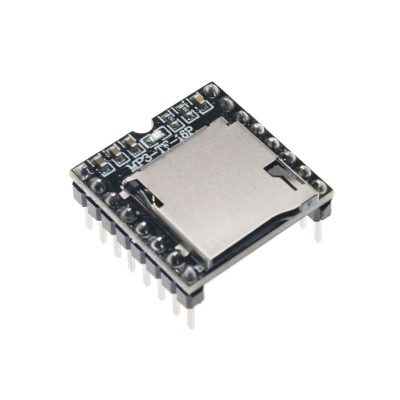
ماژول پخش فایل های صوتی DF PLAYER
۱۳۵,۰۰۰ تومان
موجود در انبار
15
نفر در حال مشاهده این محصول هستند!
دسته: ماژول ها, ماژول های پخش صدا
توضیحات
DFplayer Mini MP3 Player-TF-16P
DFPlayer Mini is a small MP3 player module, ideal for playing music from a MicroSD, it has different control modes, it can operate independently using buttons and a power supply, be used with a female USB Jack and have control through serial communication with its TX and RX pins It is compatible with Arduino development boards or any other microcontroller that has UART ports.
It is used to develop different prototypes that allow audio to be played in MP3 format.
It is used to play audio autonomously with the help of an MCU and create alarm systems to give warnings, against fires, earthquakes and others.
In addition, it has an integrated 3W amplifier to directly connect a speaker.
There is also a headphone and amplifier output.
The module supports MP3 and WMV decoding and sampling rates up to 48 kHz. The SD card supports FAT16, FAT32 up to 32GB with a maximum of 100 folders with every 1000 songs.
The speaker and headphone jacks are connected to a 24-bit DAC with a dynamic range of up to 90dB.
SPECIFICATIONS AND FEATURES
Model: MP3-TF-16P
Supply voltage: 5V DC
Logic voltage: 5V is not compatible with 3.3V MCU
Control modes: I/O control | Serial mode | AD button control
30 level adjustable volume
Supports sampling rates (KHz): 8/11.025/12/16/22.05/24/32/44.1/48
DAC output: 24 bit
Dynamic range: 90dB
Support SNR: 85dB
Compatibility: FAT16 and FAT32
MicroSD: Not included. Supports Maximum 32G
Supports a single 3W speaker, do not exceed this parameter
The file name must be a numeral, not include text
Power LED: No
LED indicator: Yes, when it starts playing audio the LED will light up, otherwise it will be off
Compatible with MCU: Ideal for Arduino and 5V logic MCU boards, it is advisable to independently power the mini player with an external source.
Dimensions: 21mm x 21mm x 12mm
Note
The mini mp3 player only works with boards with 5V logic, for boards that handle 3.3V logic such as ESP32, NodeMCU and others, the module will not work correctly, only use with MCUs and development boards that have 5V logic.
Application
1. Car navigation voice broadcast
2. Road transport inspectors, toll voice prompts
3. The train station, bus station voice prompts security check
4. Electric power, telecommunications, financial operating room voice prompts
5. The vehicle into or out of the channel to verify the voice prompts
6. Border control channel voice prompts
7. Multi-channel voice alarm or voice guidance equipment operation
8. Electric sightseeing bus safety with voice notices
9. Electrical and mechanical equipment failure alarm
10. Fire alarm voice prompts
11. Automatic broadcasting equipment, regular broadcast.
How to connect and program the MP3 player module for Arduino?
In the following tutorial you will learn in a simple way how to connect and program the mini MP3 player with the Arduino uno board, the materials that we will use are the following
Materials
Mini Mp3 Player Module
Arduino Uno
4 long cables MM-MM
3W, 4 Ω or maximum 8 Ω speaker
Mini breadboard 170 pts
1 kΩ resistor
MicroSD memory minimum 2GB maximum 32GB
How to connect the mini mp3 player module to Arduino uno?
We simply power the MP3 player using the 5V supply and GND of the Arduino.
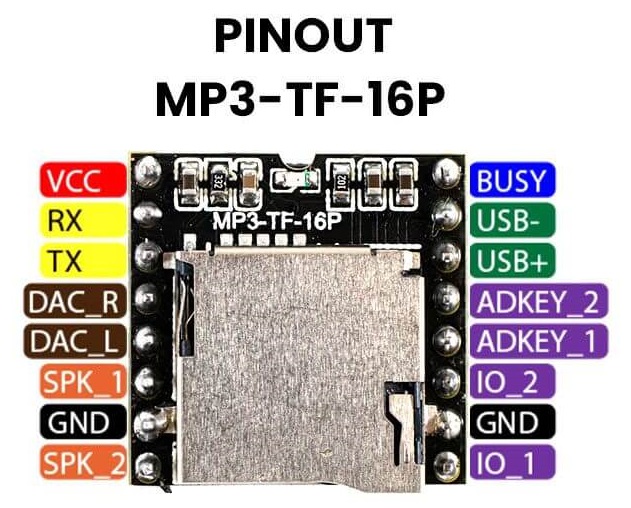
On the other hand, connect the RX and TX pins to pins 11 and 10 of the Arduino.
Finally, connect the speaker to the DFPlayer Mini to the Spk_1 and Spk_2 pins.
In the following image you will have the connection you must make.
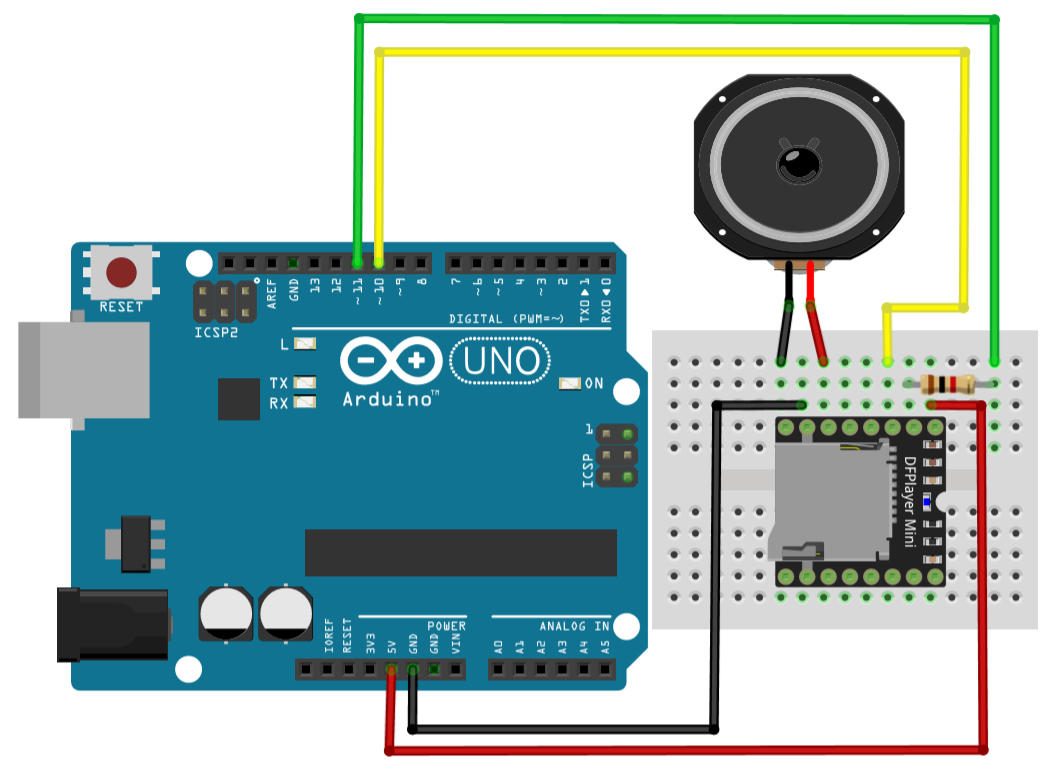
How to program the mini MP3 player module with Arduino?
After making the connection we will continue with programming the MP3 player.
To program the module with the Arduino IDE you just have to download the DFRobotDFPlayerMini library and then import it to the Arduino IDE.
Once you have loaded the library, copy the following code and upload it to your Arduino Uno.
Remember that you must have already made the connections previously made. we mentioned.
#include  "SoftwareSerial.h"
#include  "DFRobotDFPlayerMini.h"

SoftwareSerial mySoftwareSerial(10, 11); // RX, TX
DFRobotDFPlayerMini myDFPlayer;
void  printDetail( uint8_t  type,  int  value);
void  setup ()
{
mySoftwareSerial. begin (9600);
Serial . begin (115200);

Serial . println ();
Serial . println (F( "DFRobot DFPlayer Mini Demo" ));
Serial . println (F( "Initializing DFPlayer ... (May take 3~5 seconds)" ));
if  (!myDFPlayer. begin (mySoftwareSerial)) {
    Serial . println (F( "Unable to begin:" ));
    Serial . println (F( "1.Please recheck the connection!" ));
   Serial . println (F( "2.Please insert the SD card!" ));
    while ( true );
  }

Serial . println (F( "DFPlayer Mini online." ));

myDFPlayer.volume(10);
myDFPlayer.play(1);

}
void  loop ()
{
 static unsigned long timer = millis ();

if ( millis () - timer > 3000) {
    timer = millis ();
    myDFPlayer.next(); //Play next mp3 every 3 seconds.
  }
if ( myDFPlayer.available ()) {
    printDetail(myDFPlayer.readType(), myDFPlayer.read ( ));
  }
}
 void printDetail( uint8_t type, int value){
   switch (type) {
     case TimeOut:
       Serial . println (F( "Time Out!" ));
      break ;
    case WrongStack:
       Serial . println (F( "Stack Wrong!" ));
      break ;
    case DFPlayerCardInserted:
       Serial . println (F( "Card Inserted!" ));
      break ;
    case DFPlayerCardRemoved:
       Serial . println (F( "Card Removed!" ));
      break ;
    case DFPlayerCardOnline:
       Serial . println (F( "Card Online!" ));
      break ;
    case DFPlayerPlayFinished:
       Serial . print (F( "Number:" ));
      Serial . print (value);
      Serial . println (F( " Play Finished!" ));
      break ;
    case DFPlayerError:
       Serial . print (F( "DFPlayerError:" ));
      switch(value) {
        case Busy:
           Serial . println (F( "Card not found" ));
          break ;
        case Sleeping:
           Serial . println (F( "Sleeping" ));
          break ;
        case SerialWrongStack:
           Serial . println (F( "Get Wrong Stack" ));
          break ;
        case CheckSumNotMatch:
           Serial . println (F( "Check Sum Not Match" ));
          break ;
        case FileIndexOut:
           Serial . println (F( "File Index Out of Bound" ));
          break ;
        case FileMismatch:
           Serial . println (F( "Cannot Find File" ));
          break ;
        case Advertise:
           Serial . println (F( "In Advertise" ));
          break ;
        default :
           break ;
      }
      break ;
    default :
       break ;
  }
}
محصولات مشابه
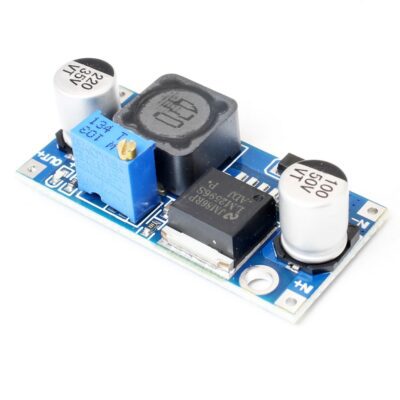
ماژول کاهنده LM2596 حداکثر جریان خروجی 3 آمپر
۷۸,۰۰۰ تومان
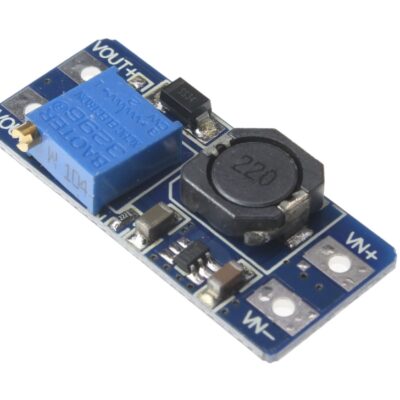
ماژول افزاینده ولتاژ 2 آمپر MT3608
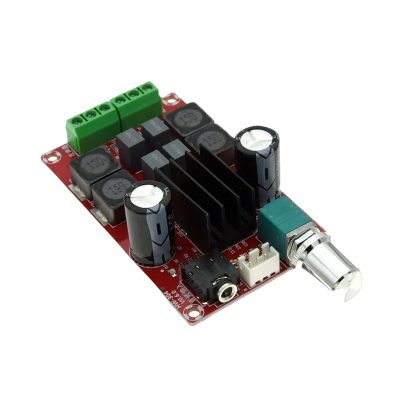
ماژول آمپلی فایر 50 وات استریو 2 کانال XH-M189
۴۸۵,۰۰۰ تومان
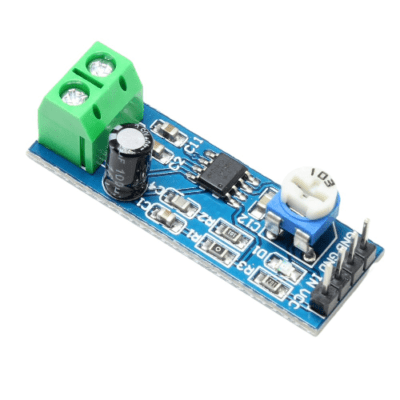
ماژول آمپلی فایر LM386
۵۵,۰۰۰ تومان
ماژول اندازه گیری ولتاژ جریان INA219 DC با خروجی I2C
کارت RFID فرکانس 13.56MHz
۱۷,۰۰۰ تومان
ماژول وای فای و بلوتوث ESP32-CAM
ماژول راه انداز lcd 2×16 با ارتباط i2c چیپ PCF8574
۷۰,۰۰۰ تومان

