- پروگرامرها
- دما و رطوبت
- سایر ماژول ها
- سنسور بخار سرد
- کی پد و جوی استیک
- ماژول GPS-GPRS
- ماژول رله و سوییچ
- ماژول شبکه
- ماژول نمایشگر
- ماژول های RF
- ماژول های RFID
- ماژول های پخش صدا
- ماژول های پردازش تصویر
- ماژول های تاریخ و ساعت
- ماژول های تغذیه – ولتاژ – جریان
- ماژول های ذخیره داده
- ماژول های شتاب سنج و ژیروسکوپ
- ماژول های مبدل
- ماژول های محافظ شارژ باتری
- ماژول های مولد پالس
- ماژول ولتمتر و آمپرمتر
ماژول وایرلس SI4432 دارای برد یک کیلومتر و فرکانس 433MHz
19
نفر در حال مشاهده این محصول هستند!
دسته: مخابرات, وای فای WiFi
توضیحات
SI4432 470MHz 1000M Wireless Module 470M 433mhz Wireless Communication Module
Specifications
– Frequency range: 433.92M
– High sensitivity up to -121dBm
– Maximum output power: 20dBm
– Data transfer rate: 0.123-256kbps
– Power supply: 1.8 – 3.6V
– Operating temperature range: -20 ~ +60°C
Features
– Passed FCC/CE certification
– Strong ability to penetrate
– FSK, GFSK and OOK modulation mode
– Ultra low power off mode
– The digital received signal strength indicator (RSSI)
– Timing wake-up function
– Automatic antenna matching and bidirectional switch control
– Configurable data packet structure
– Before the synchronization signal detection
– 64 bytes RX data register (FIFO)
– Low power testing
– Temperature sensing and 8 bit analog to digital converter
– Integrated voltage regulator
– Frequency hopping
– Power on reset function
– Built in lens adjustment function
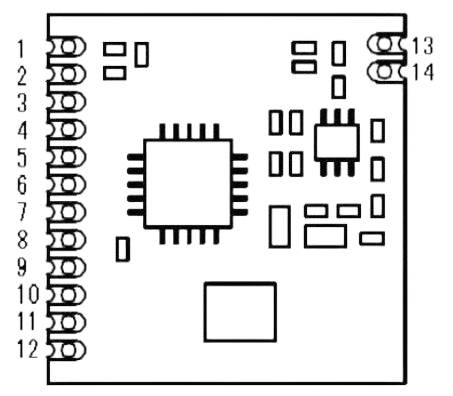
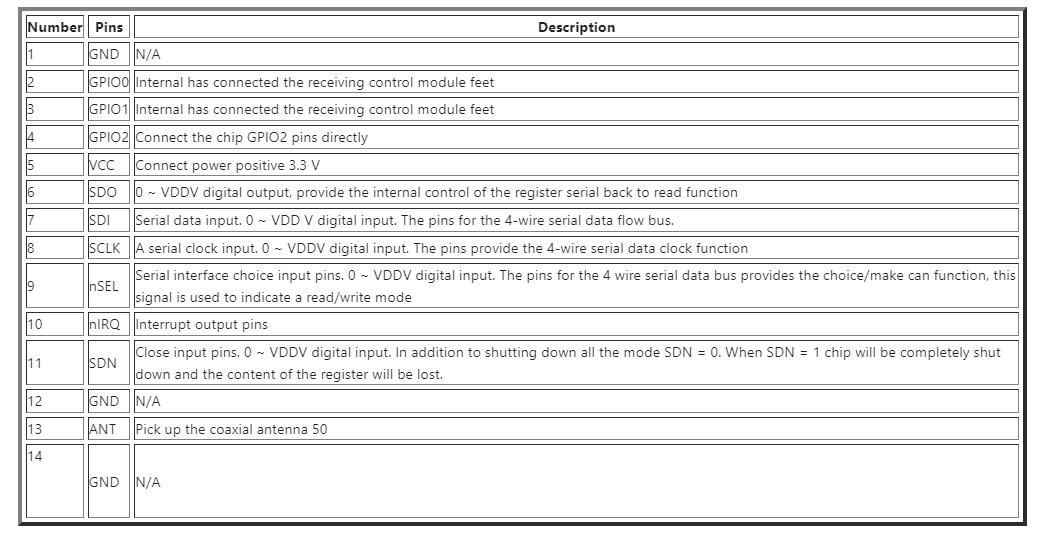
Pin Assignment
1. CND power supply
2. GPIO0 internal module, launch control foot
3. GPI01 internal access module to accept control foot
4. GPIO2 directly connected to the chip GIIO2 pin
5. VCC positive supply 3.3V
6. for SDO 0-VDD V digital output provides a serial readback function of the internal control register
7. for SDI serial data input. 0-VDD V digital input, this pin for 4-wire serial data clock function
8. SCLK serial clock input. 0-VDDV last month set of inputs. This pin provides a 4-wire serial data clock function
9. NSEL serial interface select input pin,0-VDDV digital input. This pin to 4-wire serial data bus select / enable function, this signal is also used, said the burst read / write mode.
10. NIRQ interrupt output pin
11. for SDN Close the input pin. Input 0-VDDV digital. for SDN = 0 in shutdown mode, so mode
12. GND access power ground
13. ANT 50 ohm coaxial antenna
14. GND
Application areas
Remote Control
Remote meter reading
Home security alarm and remote keyless entry
Industrial Control
Home automation telemetry
Recording personal data
Toy Control
Sensor Networks
Tire Pressure Monitoring
Health Monitoring
Wireless PC peripherals
Package included
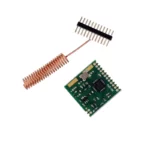
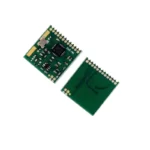
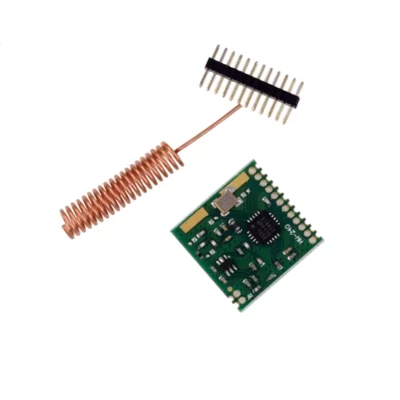
1 x Wireless SI4432 Up to 1000m Module
1 x Pin headers
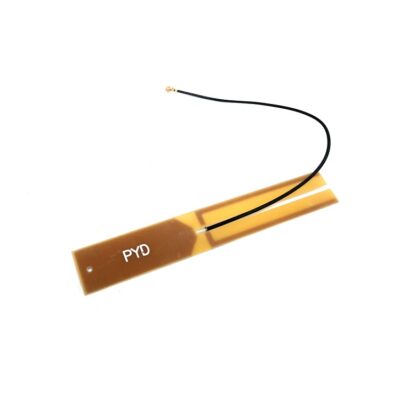
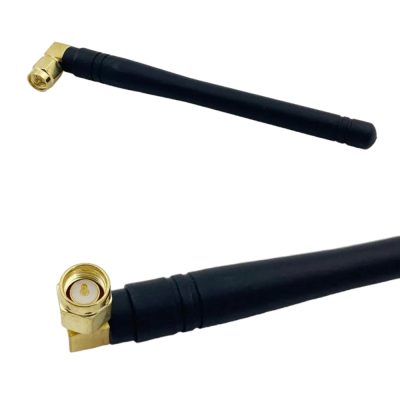
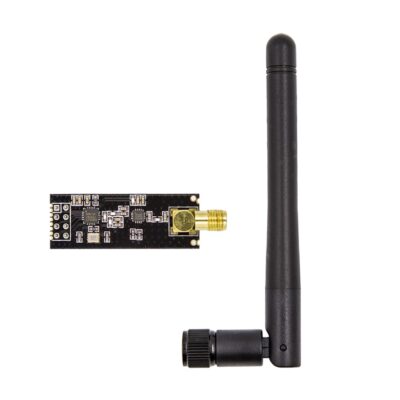
1 x External antenna
Application note
1. The antenna area should be wide open, far away from batteries, metal, etc.
Copper is not allowed on the PCB around the antenna.
When necessary, the overlapping part of the PCB and the antenna should be hollowed out or punched.
2. When the designed product is placed in a metal shell or metal cabinet, the signal must be led from the antenna with an antenna feeder and an external SMA antenna or sucker antenna, otherwise the signal will be shielded by the metal shell and the distance will be strong be reduced.
Use high gain antennas.
3. power supply design.
The power supply is the heart of the entire system, and must be considered when designing.
The recommended voltage of si4432 wireless module is 3.3V, and the transient current can provide more than 200mA.
4. When using DCDC and LDO to step down, the impact of ripple and surge current should be considered.
Ripple can be handled by LC network where the power supply of the module is connected peak current can be handled by large capacitors.
5. If the battery is used for power supply, consider whether the battery’s transient current is sufficient.
Lithium batteries are recommended. Ni-MH batteries are not recommended for batteries.
6. When designing software, use data packet communication as much as possible.
The lower the communication setting rate, the longer the distance.
7. When using a communication rate other than the DEMO program to communicate, use the parameter calculation tool to recalculate the communication parameters And the necessary adjustments according to the communication requirements of your own products.
Library
The RadioHead library on the Arduino IDE installation steps
Open the Arduino IDE.
Select Sketch > Include Library > Manage Libraries… from the menu.
In the Library Manager, search for “RadioHead” in the search bar.
Click on the RadioHead library in the search results to select it.
Click the Install button to install the library.
Wait for the installation to complete.
Once it’s finished, you should see a message in the status bar indicating that the installation was successful.
نظرات (0)
اولین نفری باشید که دیدگاهی را ارسال می کنید برای “ماژول وایرلس SI4432 دارای برد یک کیلومتر و فرکانس 433MHz”





دیدگاهها
هیچ دیدگاهی برای این محصول نوشته نشده است.