- پروگرامرها
- دما و رطوبت
- سایر ماژول ها
- سنسور بخار سرد
- کی پد و جوی استیک
- ماژول GPS-GPRS
- ماژول رله و سوییچ
- ماژول شبکه
- ماژول نمایشگر
- ماژول های RF
- ماژول های RFID
- ماژول های پخش صدا
- ماژول های پردازش تصویر
- ماژول های تاریخ و ساعت
- ماژول های تغذیه – ولتاژ – جریان
- ماژول های ذخیره داده
- ماژول های شتاب سنج و ژیروسکوپ
- ماژول های مبدل
- ماژول های محافظ شارژ باتری
- ماژول های مولد پالس
- ماژول ولتمتر و آمپرمتر
توضیحات
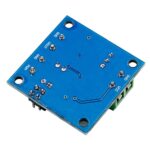
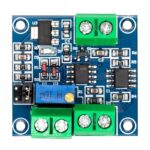
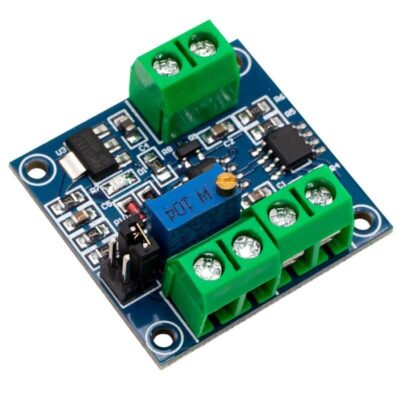
PWM To Voltage Converter Module 0%-100% To 0-10V For PLC MCU Digital to Analog Signal PWM Adjustable
Description
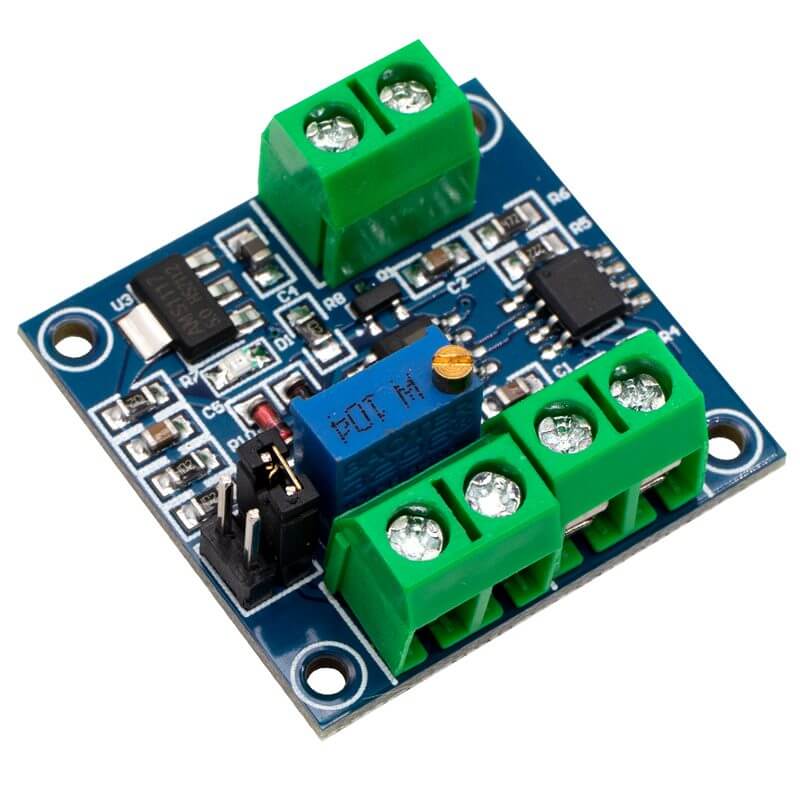
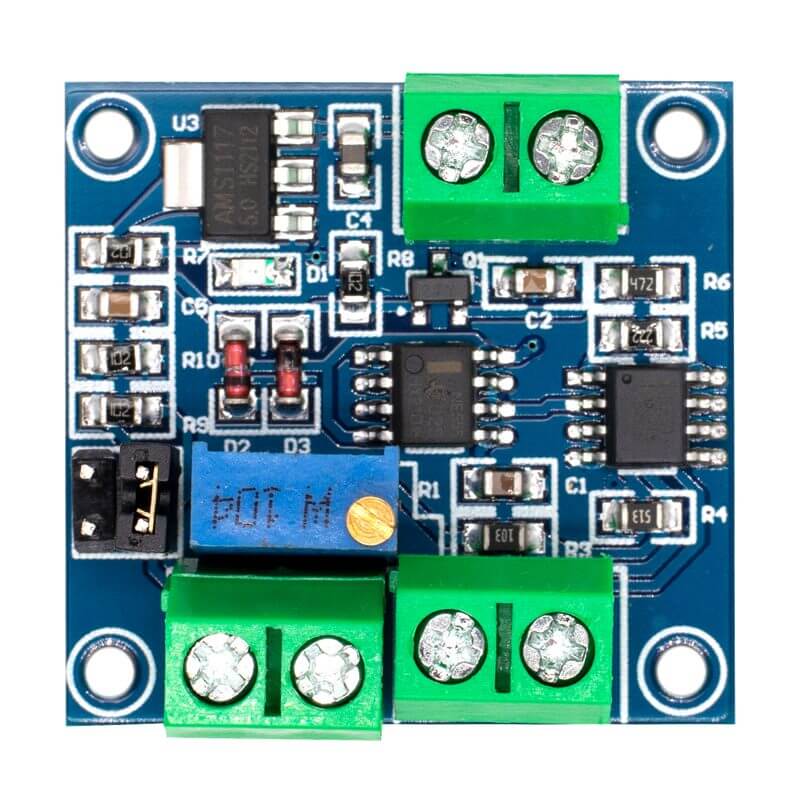
The PWM transfer voltage module LC-LM358-PWM2V converts the PWM digital signals into 0 to 10V analog signals.
It can be used as signal interface switching for PLC or other industrial control boards.
The output voltage is regulated by adjusting the duty ratio of the PWM.
The modules are small in size and easy to use in different places.
Features
– MCU embedded technology
– Easy to operate, fine tuned by potentiometer
– Select the PWM signal input level range through short-circuit
– The module is smaller, easy to carry and use
Parameters
– Work Voltage: DC 12V-30V (> 100MA)
– PWM Receiver Frequency: 1KHZ-3KHZ
– PWM signal input level range:
* The peak of 4.5V to 10V level. The short cap install in 5V.
This level is used for normal controller or 5V MCU;
* The peak of 12V to 24V level, so inserted in 24V.
The short cap install in 24V. This level is used for normal PLC controller.
– Conversion range: 0%-100% PWM to 0-10V
– Allowable error: 5%
Package Included
– 1 x Module
Wiring Instruction
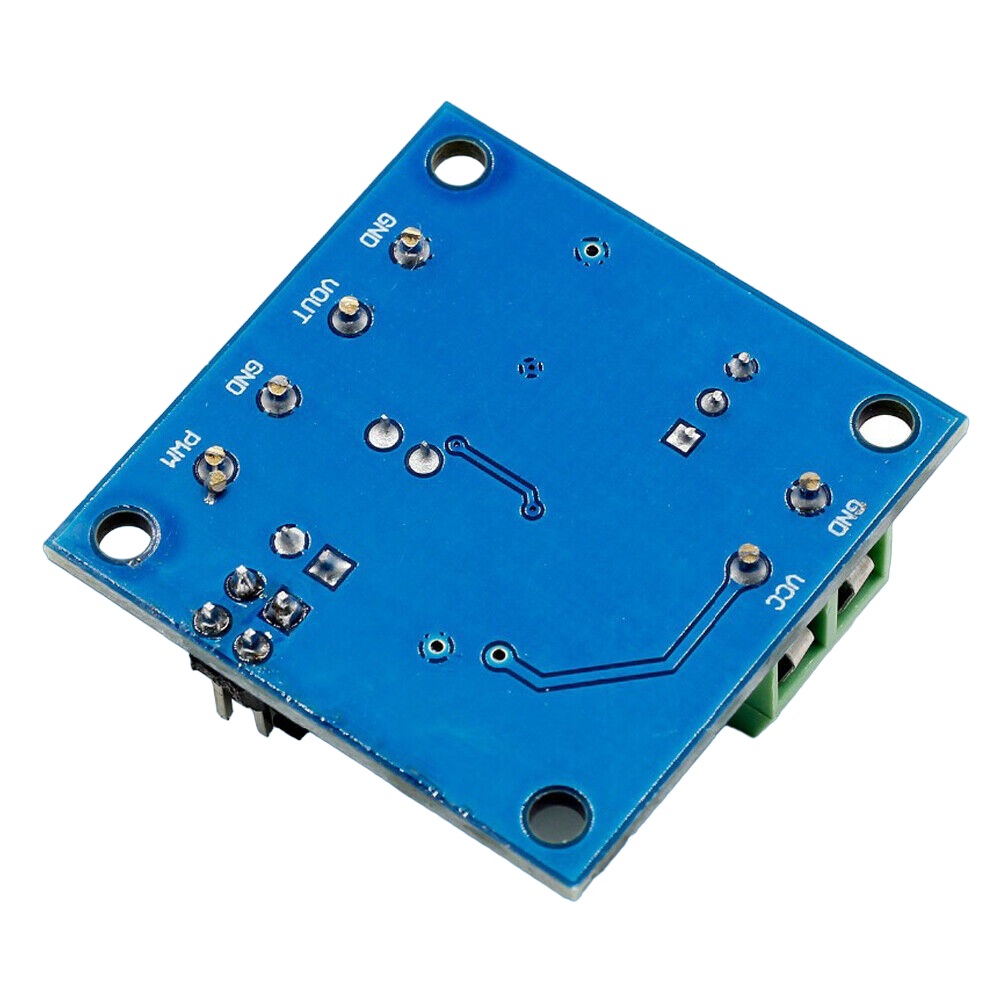
– VCC: To Working Power Supply
– GND: To Power Supply Ground
– F: To Input Frequency Pulse Signal
– GND: To Input Ground
– VOUT: To Output Related Voltage
– GND: To Output Ground
Attention
– The module shares ground.
– Connect working voltage to VCC and GND.
Reverse connection is not allowed to avoid damage to the board and device.
– Connect frequency pulse signal to F.And there will be related voltage output in VOUT terminal
– Relationship between input and output: 100Hz = 1V. 1KHz = 10V.
– The accuracy of this module is 1%.
It is not for uses needing higher accuracy.
– When there is bias of related relationship, use on-board potentiometer to calibrate.
Hardware Interfaces
– VCC: Working Power Supply DC 12V-30V
– GND: Working Power Supply Ground
– PWM: Input Signal PWM +
– GND: Input Signal –
– VOUT: Output Voltage 0-10V
– GND: Output Voltage Ground
Operation Instructions
After power on, there is no input signal, so the output is 0V.
When there is input, there will be output.
The first time when it is power-on, it is best to do a calibration debugging:
Input a 50% duty cycle signal to PWM/GND and to the jumper related to amplitude.
Frequency is 1KHZ-3KHZ, measured VOUT and GND with a multimeter and it will display about 5V.
Adjust on-board potentiometer to make sure display 5.00V on the multimeter.
In this way, the correspondence between your pulse signal and this module is calibrated.
When frequency changes, the correspondences may be offset and need to be re calibrated.
Output voltage can be adjusted by adjusting duty cycle.
Accuracy can be controlled by adjusting the potentiometer.

محصولات مشابه
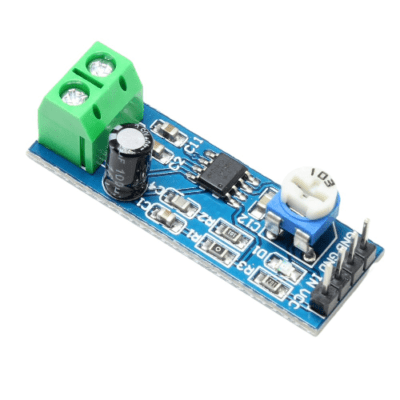
ماژول آمپلی فایر LM386
۵۵,۰۰۰ تومان
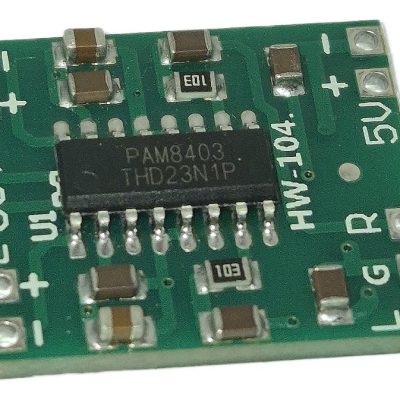
ماژول آمپلی فایر 2x3W کلاس D با تراشه PAM8403
۲۳,۰۰۰ تومان
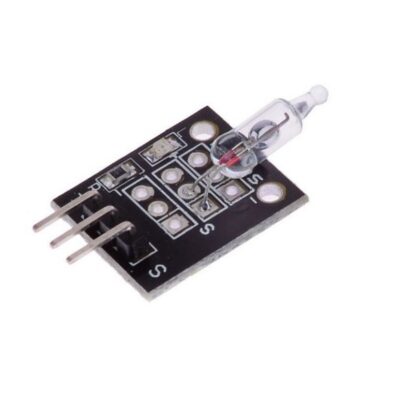
ماژول سوئیچ جیوه ای
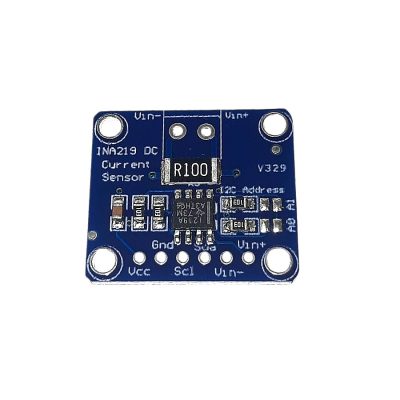
ماژول اندازه گیری ولتاژ جریان INA219 DC با خروجی I2C
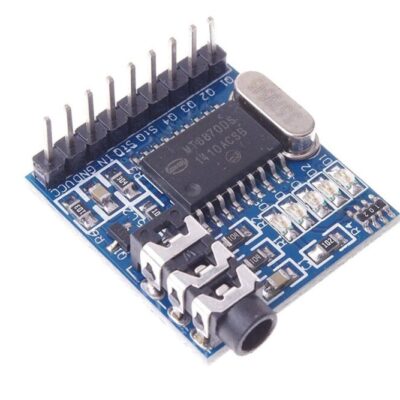
ماژول MT8870 دریافت کدهایDTMF
۹۰,۰۰۰ تومان
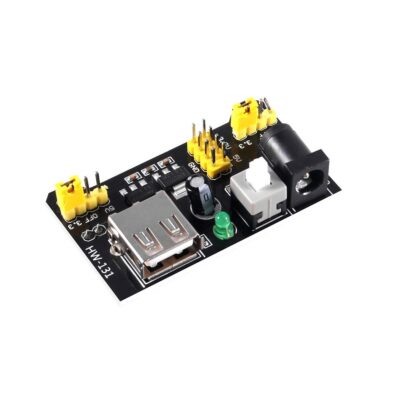
ماژول تغذیه برد بورد
۷۲,۰۰۰ تومان
مبدل USB به سریال RS485
۱۱۵,۰۰۰ تومان

