- پروگرامرها
- دما و رطوبت
- سایر ماژول ها
- سنسور بخار سرد
- کی پد و جوی استیک
- ماژول GPS-GPRS
- ماژول رله و سوییچ
- ماژول شبکه
- ماژول نمایشگر
- ماژول های RF
- ماژول های RFID
- ماژول های پخش صدا
- ماژول های پردازش تصویر
- ماژول های تاریخ و ساعت
- ماژول های تغذیه – ولتاژ – جریان
- ماژول های ذخیره داده
- ماژول های شتاب سنج و ژیروسکوپ
- ماژول های مبدل
- ماژول های محافظ شارژ باتری
- ماژول های مولد پالس
- ماژول ولتمتر و آمپرمتر
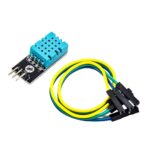
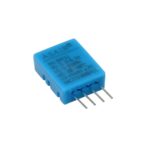
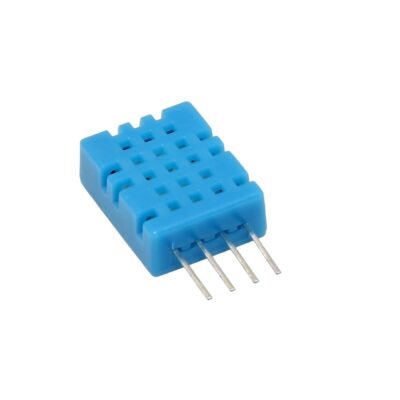
سنسور دما و رطوبت DHT11
۹۳,۰۰۰ تومان
موجود در انبار
26
نفر در حال مشاهده این محصول هستند!
دسته: دما و رطوبت, سنسورها
توضیحات
DHT 11
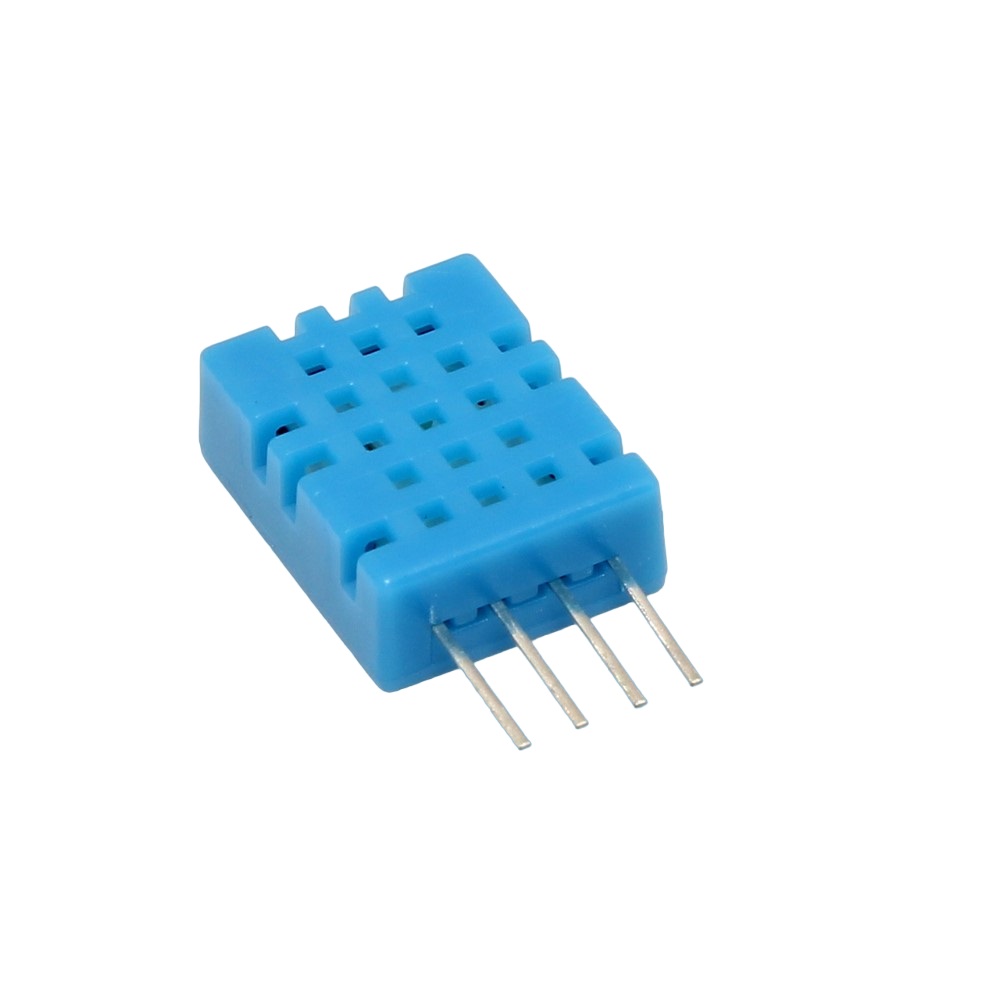
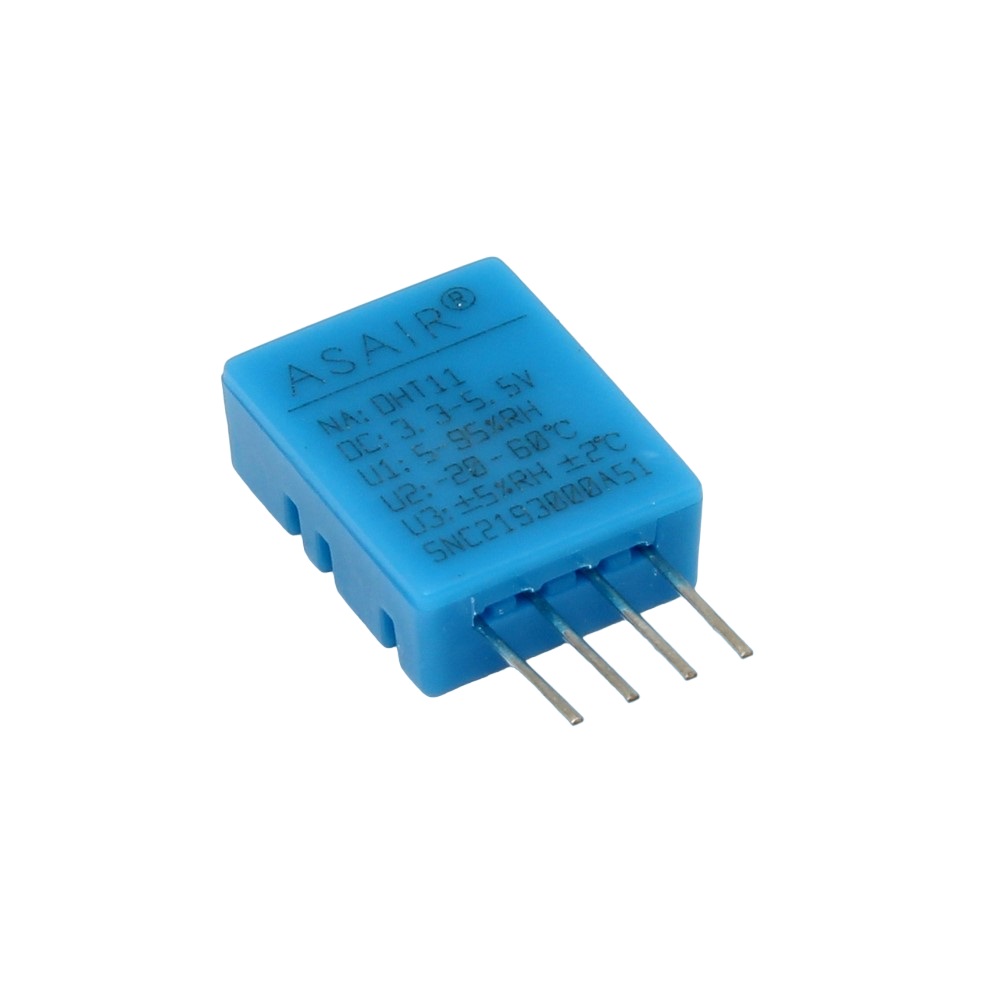
The DHT11 is a simple and extremely cost-effective digital temperature and humidity sensor.
Particularly suitable for Raspberry and Arduino.
Technical data
• Voltage: 3 – 5 V DC I/O
• Max. 2.5 mA during conversion (during data request)
• Single-wire digital output
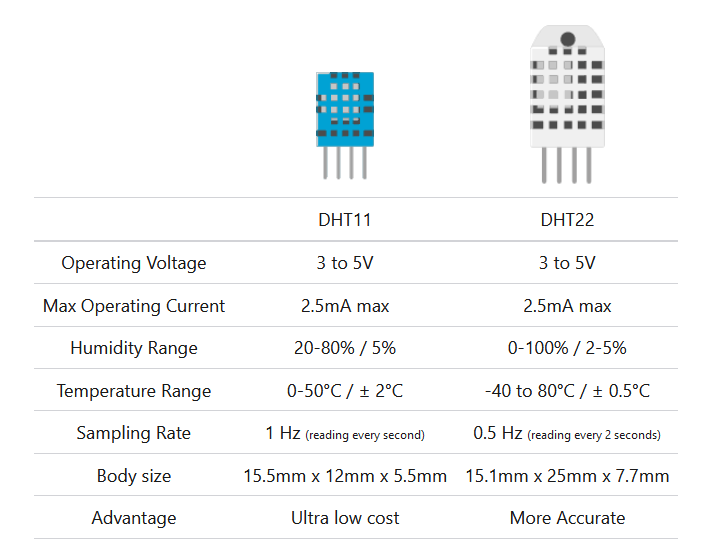
• Humidity measuring range: 20% – 90% RH (0 – 50°C temperature compensation)
• Temperature measuring range: 0 – +50°C
• Accuracy of humidity measurement: ± 5.0% RH
• Temperature measurement accuracy: ± 2.0°C
• Response time: <5 s
• Energy-efficient
• Sampling rate no higher than 1 Hz (once per second)
• Dimensions: 15.5 x 12 x 5.5 mm
Example
The DHT11 and DHT22 sensors use their own bidirectional communication system through a single conductor, using timed signals.
In each measurement sending, the sensor sends a total of 40 bits, in 4 ms.
These 40 bits correspond to 2 Bytes for humidity measurement, 2 Bytes for temperature measurement, plus a final Byte for error checking (8bit integral RH data + 8bit decimal RH data + 8bit integral T data + 8bit decimal T data + 8bit checksum)
We can read the sensor data directly by generating and reading the timed signals according to the DHTXX protocol.
In general, it is normal for us to use an existing library to simplify the process.
There are several libraries available.
For example, we can use the Adafruit library available at this link.
We download and install the library and load the example code, or the following simplified version
#include "DHT.h"

// Uncomment whatever type you're using!
//#define DHTTYPE DHT11   // DHT 11

#define DHTTYPE DHT22   // DHT 22  (AM2302), AM2321
//#define DHTTYPE DHT21   // DHT 21 (AM2301)

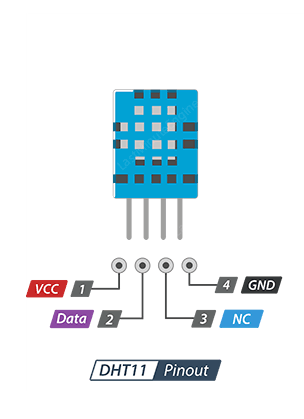
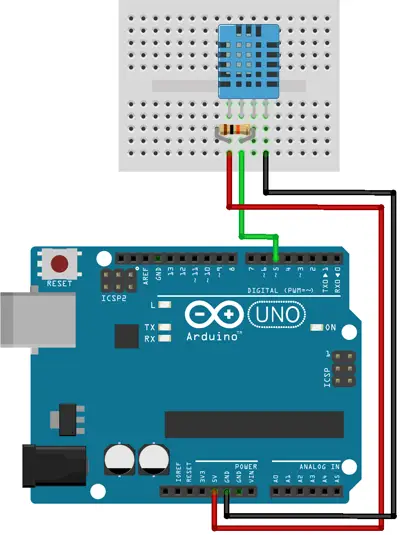
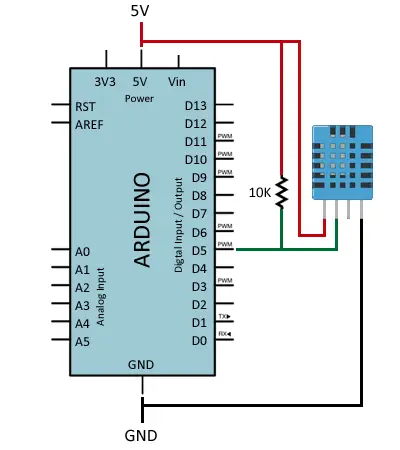
// Connect pin 1 (on the left) of the sensor to +5V
// NOTE: If using a board with 3.3V logic like an Arduino Due connect pin 1
// to 3.3V instead of 5V!
// Connect pin 2 of the sensor to whatever your DHTPIN is
// Connect pin 4 (on the right) of the sensor to GROUND
// Connect a 10K resistor from pin 2 (data) to pin 1 (power) of the sensor

const int DHTPin = 5;     // what digital pin we're connected to

DHT dht(DHTPin, DHTTYPE);

void setup() {
  Serial.begin(9600);
  Serial.println("DHTxx test!");

  dht.begin();
}

void loop() {
  // Wait a few seconds between measurements.
  delay(2000);

  // Reading temperature or humidity takes about 250 milliseconds!
  float h = dht.readHumidity();
  float t = dht.readTemperature();

  if (isnan(h) || isnan(t)) {
    Serial.println("Failed to read from DHT sensor!");
    return;
  }

  Serial.print("Humidity: ");
  Serial.print(h);
  Serial.print(" %\t");
  Serial.print("Temperature: ");
  Serial.print(t);
  Serial.print(" *C ");
}
We load the program into Arduino, and we will begin to receive the temperature and humidity values through the serial port.
DHT11 Sensor Pinout
DHT11 Arduino Circuit Diagram
محصولات مشابه
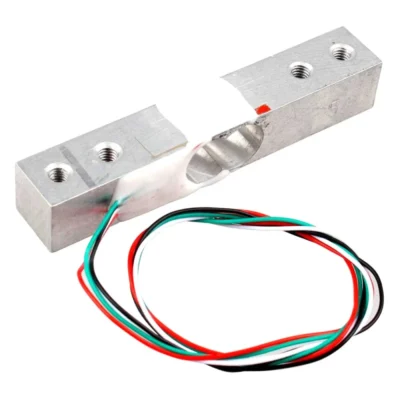
سنسور وزن – لودسل 1 کیلوگرمی
۱۴۵,۰۰۰ تومان
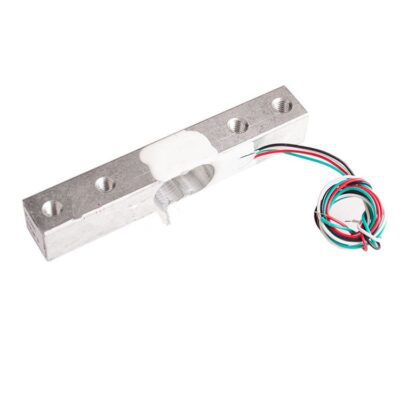
سنسور وزن – لودسل 10 کیلوگرمی
۱۴۵,۰۰۰ تومان
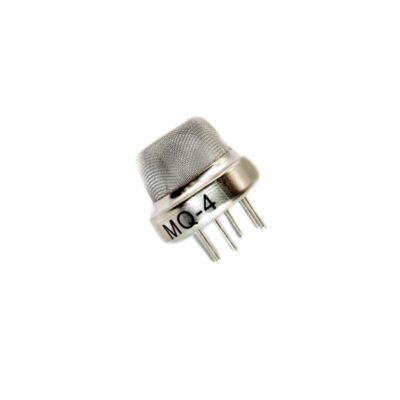
سنسور تشخیص گازهای طبیعی MQ-4
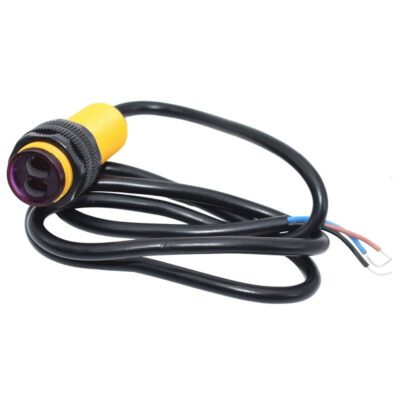
ماژول تشخیص مانع مادون قرمز E18-D80NK
۱۷۷,۰۰۰ تومان
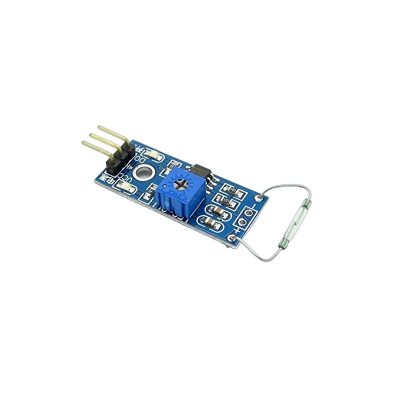
ماژول رید مگنتیک – ماژول مغناطیس
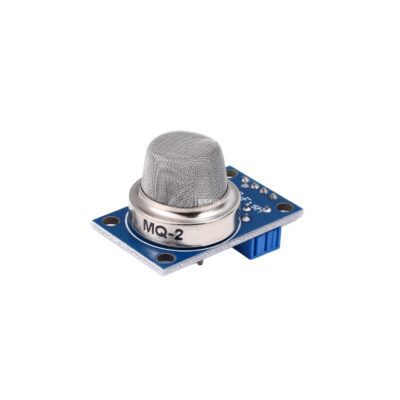
ماژول تشخیص دود و گاز MQ-2
۱۱۸,۰۰۰ تومان
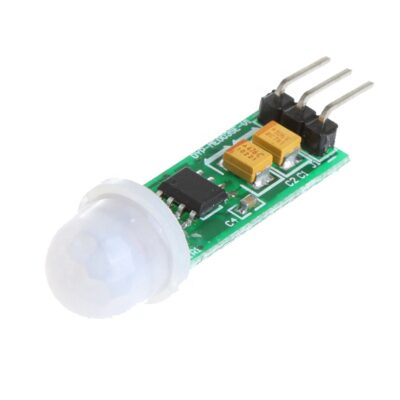
ماژول تشخیص حرکت بدن HC-SR505
ماژول سنسور فشار بارومتریک BMP280
۵۰,۰۰۰ تومان

