- پروگرامرها
- دما و رطوبت
- سایر ماژول ها
- سنسور بخار سرد
- کی پد و جوی استیک
- ماژول GPS-GPRS
- ماژول رله و سوییچ
- ماژول شبکه
- ماژول نمایشگر
- ماژول های RF
- ماژول های RFID
- ماژول های پخش صدا
- ماژول های پردازش تصویر
- ماژول های تاریخ و ساعت
- ماژول های تغذیه – ولتاژ – جریان
- ماژول های ذخیره داده
- ماژول های شتاب سنج و ژیروسکوپ
- ماژول های مبدل
- ماژول های محافظ شارژ باتری
- ماژول های مولد پالس
- ماژول ولتمتر و آمپرمتر
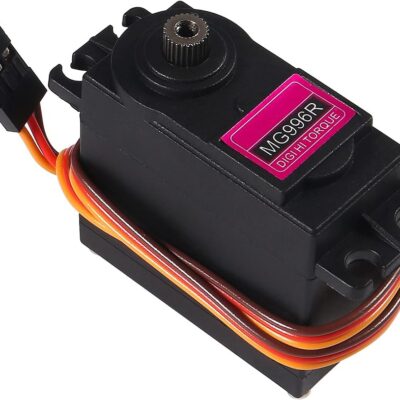
سروو موتور دنده فلزی MG996R
۴۴۵,۰۰۰ تومان
موجود در انبار
23
نفر در حال مشاهده این محصول هستند!
دسته: سرور موتور, موتور و عملگر
توضیحات
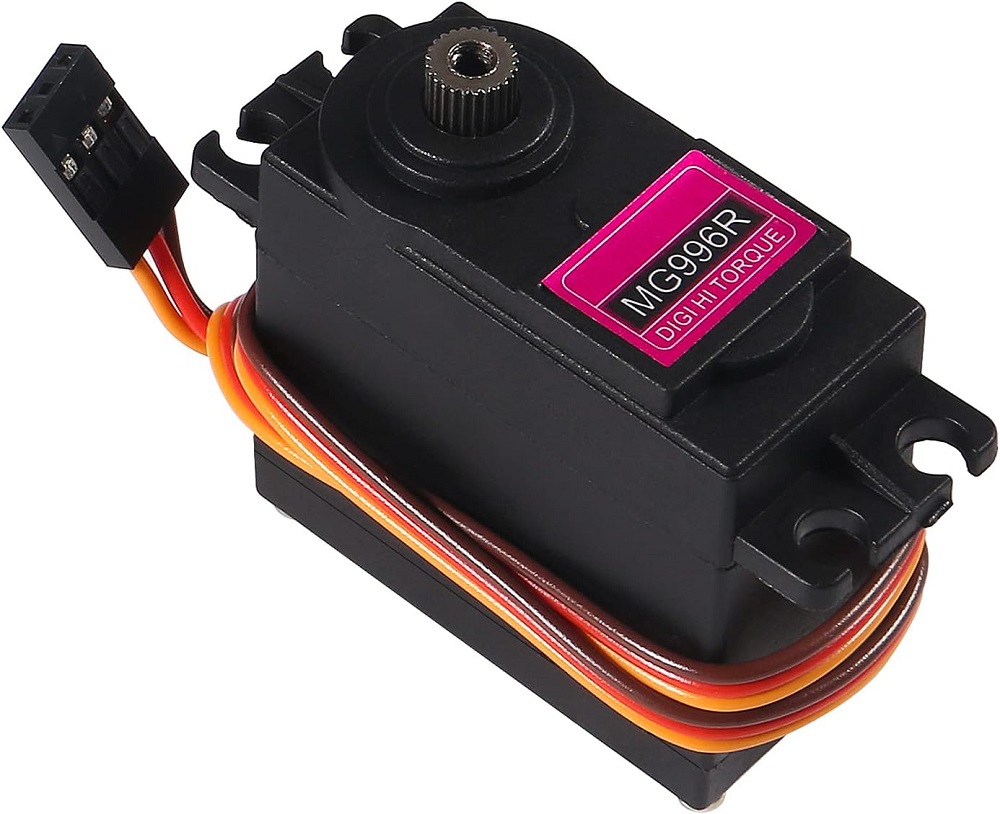
Metal Gear Dual Ball Bearing Servo
This High-Torque MG996R Digital Servo features metal gearing resulting in extra high 10kg stalling torque in a tiny package.
The MG996R is essentially an upgraded version of the famous MG995 servo, and features upgraded shock-proofing and a redesigned PCB and IC control system that make it much more accurate than its predecessor.
The gearing and motor have also been upgraded to improve dead bandwith and centering.
The unit comes complete with 30cm wire and 3 pin ‘S’ type female header connector that fits most receivers, including Futaba, JR, GWS, Cirrus, Blue Bird, Blue Arrow, Corona, Berg, Spektrum and Hitec.
This high-torque standard servo can rotate approximately 120 degrees (60 in each direction).
You can use any servo code, hardware or library to control these servos, so it’s great for beginners who want to make stuff move without building a motor controller with feedback & gear box, especially since it will fit in small places.
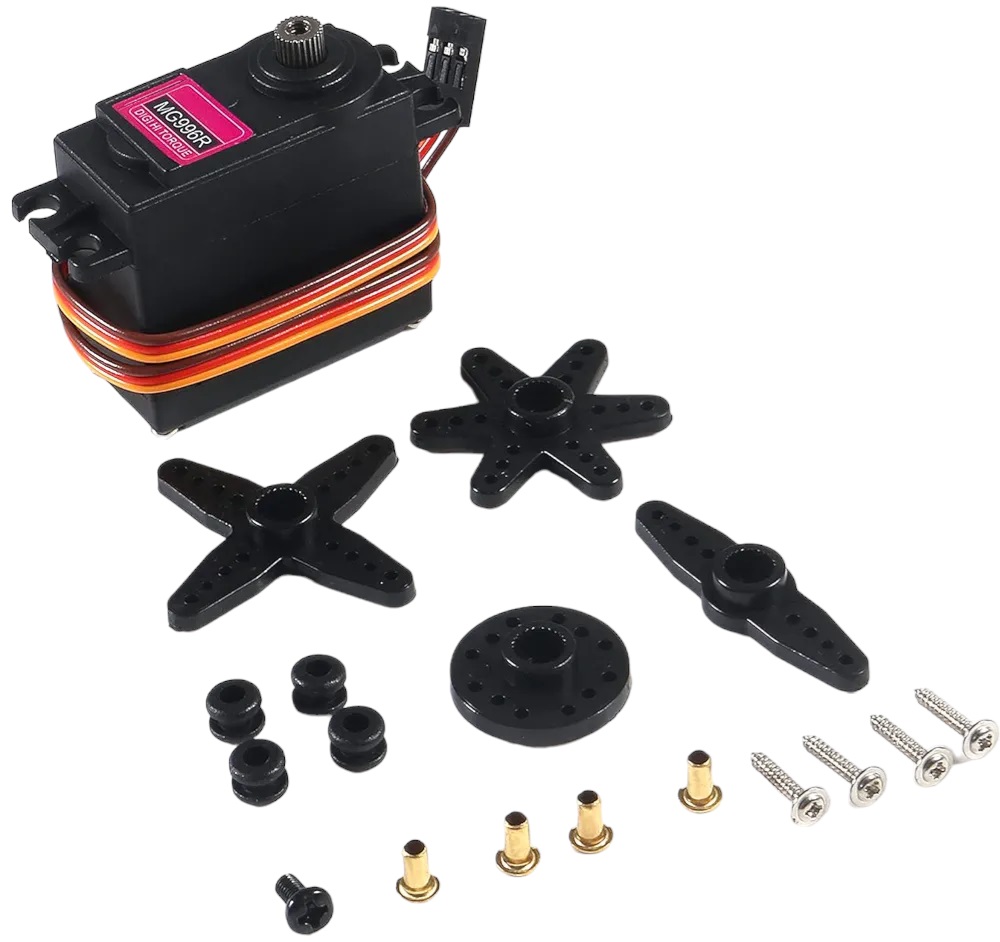
The MG996R Metal Gear Servo also
comes with a selection of arms and hardware to get you set up nice and fast!
Specifications
• Weight: 55 g
• Dimension: 40.7 x 19.7 x 42.9 mm approx.
• Stall torque: 9.4 kgf·cm (4.8 V ), 11 kgf·cm (6 V)
• Operating speed: 0.17 s/60º (4.8 V), 0.14 s/60º (6 V)
• Operating voltage: 4.8 V a 7.2 V
• Running Current 500 mA –
• Stall Current 2.5 A (6V)
• Dead band width: 5 µs
• Stable and shock proof double ball bearing design
• Temperature range: 0 ºC – 55 ºC
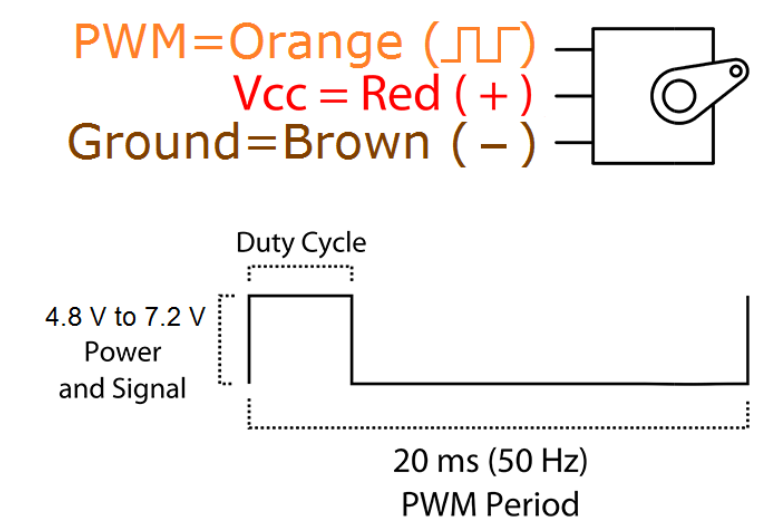
Example
Controlling servos on Arduino is very simple, since the Standard IDE provides the “servo.h” library, which allows you to simultaneously control up to 12 servos on Arduino Uno/Nano and up to 48 servos on Arduino Mega.
Among the typical examples to illustrate the operation of servos we have the Sketch “Sweep”, which performs a continuous sweep with the servo.
To do this, it increases the angle from 0 to 180º at a rate of 1º every 15ms, then performs the opposite operation from 180º to 0º, to finally restart the loop.
#include <Servo.h>

Servo myservo;  // crea el objeto servo

int pos = 0;    // posicion del servo

void setup() {
  myservo.attach(9);  // vincula el servo al pin digital 9
}

void loop() {
  //varia la posicion de 0 a 180, con esperas de 15ms
  for (pos = 0; pos <= 180; pos += 1)
  {
    myservo.write(pos);
    delay(15);
  }

  //varia la posicion de 180 a 0, con esperas de 15ms
  for (pos = 180; pos >= 0; pos -= 1)
  {
    myservo.write(pos);
    delay(15);
  }
}
نظرات (0)
اولین نفری باشید که دیدگاهی را ارسال می کنید برای “سروو موتور دنده فلزی MG996R”
محصولات مشابه
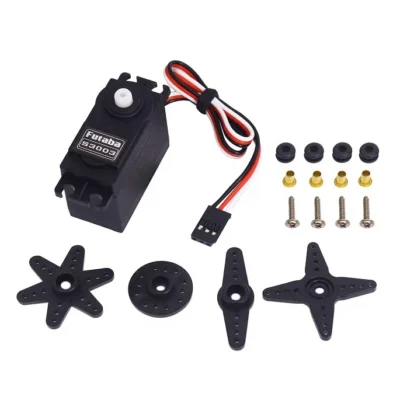
سروو موتور Futaba S3003 Servo Motor
۳۸۰,۰۰۰ تومان
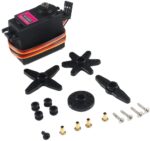
سروو موتور دنده فلزی MG995
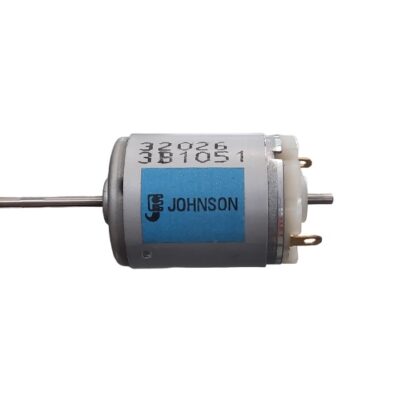
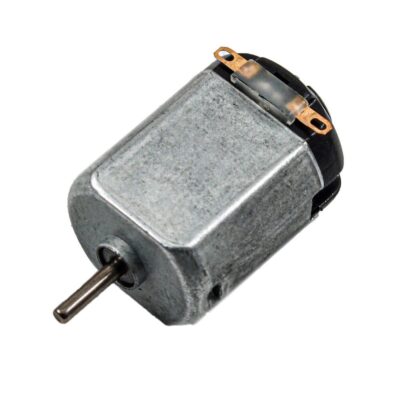
موتور جانسون 12 ولت مدل 3B1051
۱,۰۰۰,۰۰۰ تومان
نمره 5.00 از 5
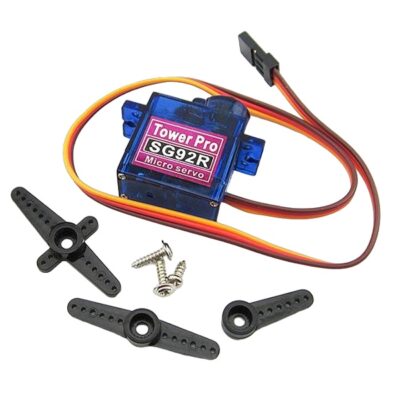
سروو موتور SG92R
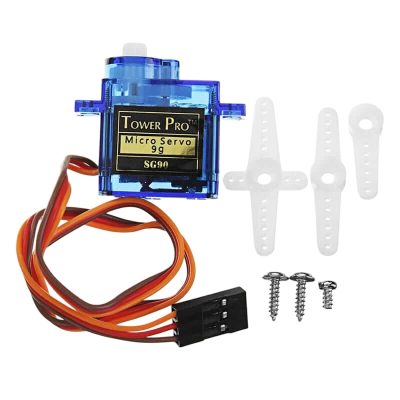
سروو موتور SG90
۱۶۱,۰۰۰ تومان
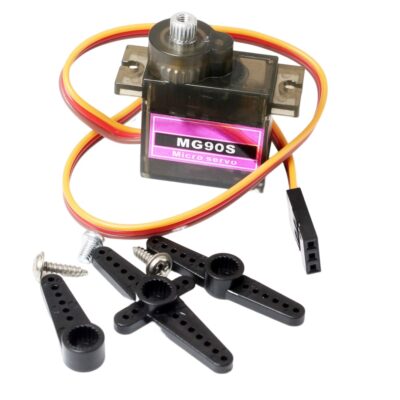
سروو موتور دنده فلزی MG90S
۲۵۵,۰۰۰ تومان





دیدگاهها
هیچ دیدگاهی برای این محصول نوشته نشده است.