- پروگرامرها
- دما و رطوبت
- سایر ماژول ها
- سنسور بخار سرد
- کی پد و جوی استیک
- ماژول GPS-GPRS
- ماژول رله و سوییچ
- ماژول شبکه
- ماژول نمایشگر
- ماژول های RF
- ماژول های RFID
- ماژول های پخش صدا
- ماژول های پردازش تصویر
- ماژول های تاریخ و ساعت
- ماژول های تغذیه – ولتاژ – جریان
- ماژول های ذخیره داده
- ماژول های شتاب سنج و ژیروسکوپ
- ماژول های مبدل
- ماژول های محافظ شارژ باتری
- ماژول های مولد پالس
- ماژول ولتمتر و آمپرمتر
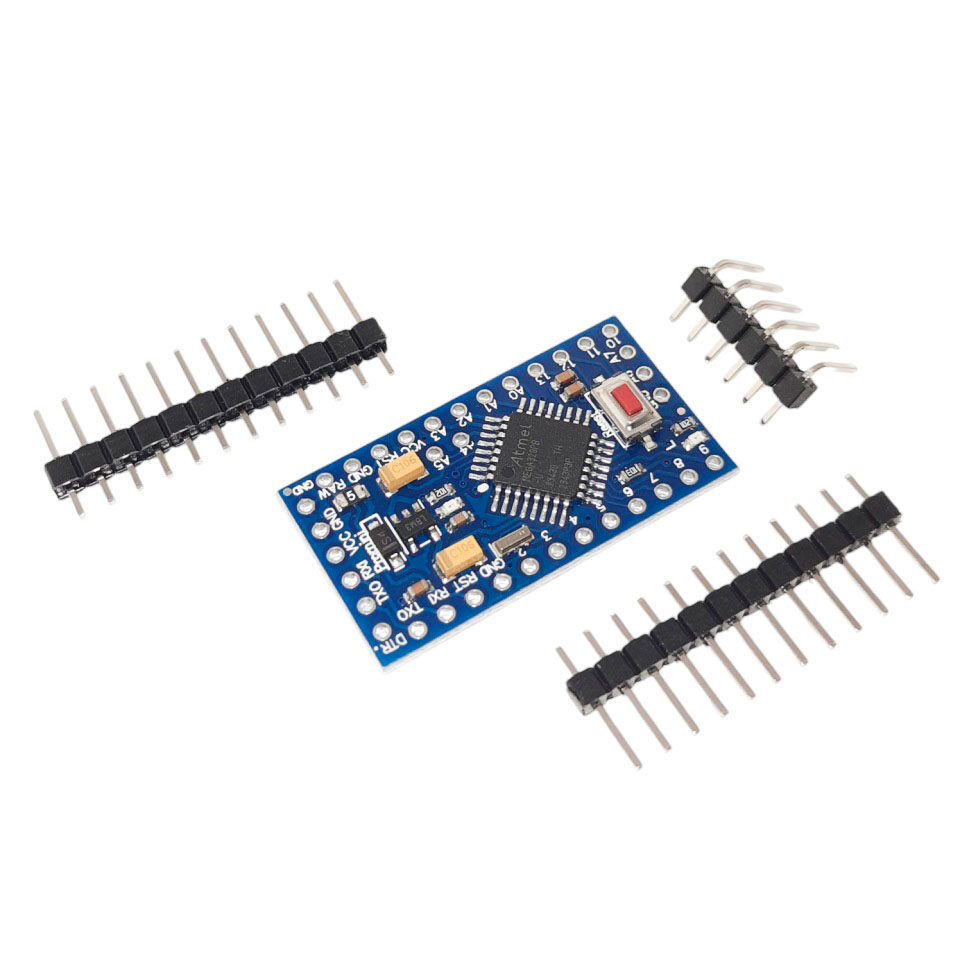
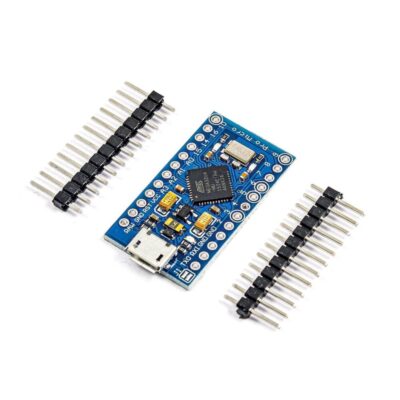
آردوینو پرومینی 5 ولت Arduino Pro Mini 5v
۲۵۵,۰۰۰ تومان
موجود در انبار
12
نفر در حال مشاهده این محصول هستند!
دسته: آردوینو, بردهای آردوینو, بردهای توسعه
توضیحات
Arduino Pro Mini 5V 16MHz
The Pro Mini compatible with Arduino is a development board based on the ATmega328 with 32 KB of flash memory, useful in projects where size is a limiting factor, otherwise it is as versatile as an Arduino UNO, 5V at 16MHz
To program on this card you must use a USB-Serial TTL converter/adapter such as CP2102 or FTDI.
Since it does not have a USB port available on the board and also lacks a built-in programmer.
Features
1. ATmega328P running at 16MHz with external resonator (0.5% tolerance)
2. 0.8mm Thin PCB
3. USB connection off board
4. Supports auto-reset
5. 5V regulator
6. Max 150mA output
7. Overcurrent protected
8. Weighs less than 2 grams!
9. DC input 5V up to 12V
10. Onboard Power and Status LEDs
11. Analog Pins: 8
12. Digital I/Os: 14
13. 6 PWM port: D3, D5, D6, D9, D10, D11.
14. Use For Atmel Atmega328P-AU microcontroller.
15. Support serial download.
16. Support 9V battery.
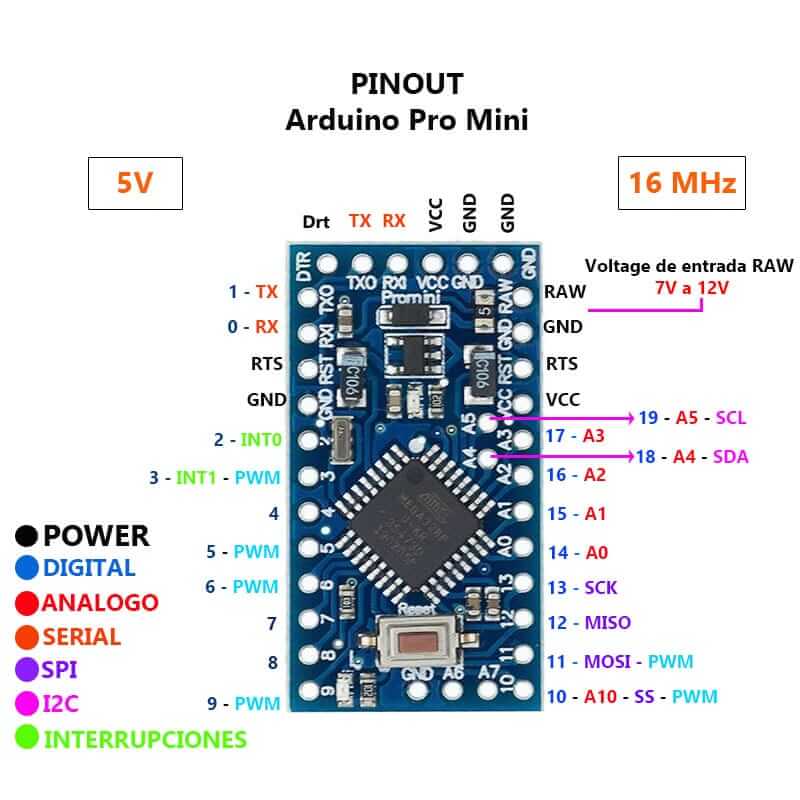
How to program the 5V Pro Mini?
Because the Pro Mini does not have a USB port which can be connected to be able to program it directly, for this we will need USB-Serial converters or adapters.
Below we show the steps to follow so that you can use them without any inconvenience.
One of the following USB-Serial TTL converter/adapter will be required:
Usb To TTL Converter CP2102
Usb Serial Ftdi Ttl Converter
Programming with USB Serial CP2102
If your option was the Serial CP2102, make the following connection between the Arduino and the converter as shown
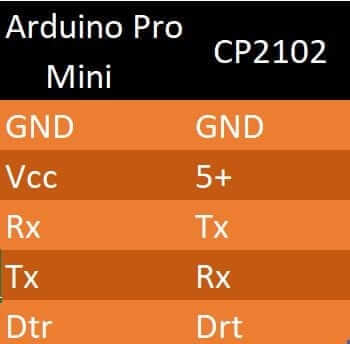
Later we connect the CP2102 to the PC and within the Arduino IDE suite, follow the following steps
Select the card of our Pro Mini (5V)
We select the COM Port corresponding to CP2102
Programmer we leave the “AVRISP mkII”.
The Arduino is ready to be programmed.
Programming with Usb Serial Ftdi
If, on the other hand, your option was the Serial Ftdi, the driver will be required to use the Ftdi on a Windows PC, which can be found in the following link:
FTDI Drivers
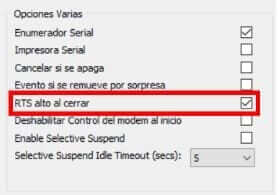
Next we will connect the Ftdi and locate in Device Manager the port that corresponds to our converter; Right click and follow the following route:
Properties>Port Settings>Advanced Options>Miscellaneous Options>High RTS on Shutdown (Enable)
The connection between the Pro Mini and the converter is as follows
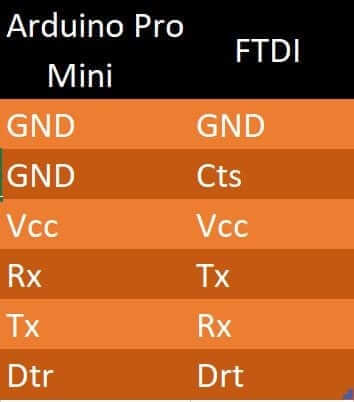
Later we connect the FTDI to the PC and within the Arduino IDE suite, follow the following steps
Select the card of our Pro Mini (5V or 3.3V)
We select the COM Port corresponding to the FTDI
programmer we left the “AVRISP mkII”.
Our Arduino is ready to be programmed
نظرات (0)
اولین نفری باشید که دیدگاهی را ارسال می کنید برای “آردوینو پرومینی 5 ولت Arduino Pro Mini 5v”
محصولات مشابه
برد آردوینو Digispark ATtiny85 USB
تماس بگیرید
برد آردوینو مگا Arduino Mega 2560 ch340
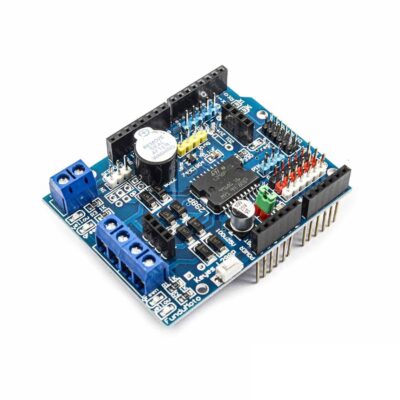
شیلد موتور درایور L298P آردوینو دارای بازر
۴۸۵,۰۰۰ تومان
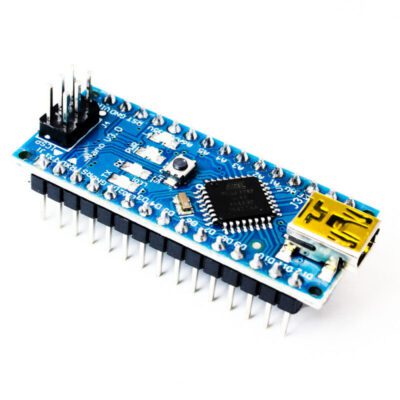
آردوینو نانو Arduino Nano V3.0
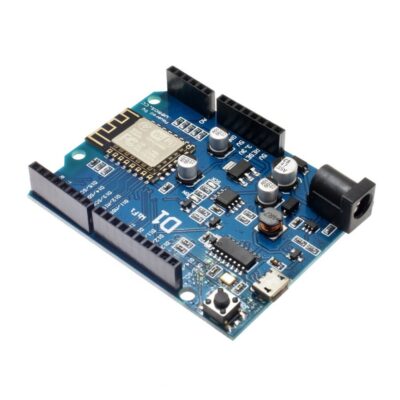
برد WeMos D1 دارای هسته وای فای ESP8266
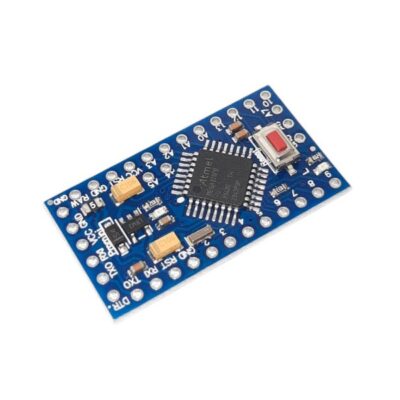
آردوینو پرومینی 3.3 ولت Arduino Pro Mini
۲۷۵,۰۰۰ تومان
برد آردوینو پرو میکرو Arduino Pro Micro
برد آردوینو Arduino UNO CH340G
تماس بگیرید



دیدگاهها
هیچ دیدگاهی برای این محصول نوشته نشده است.